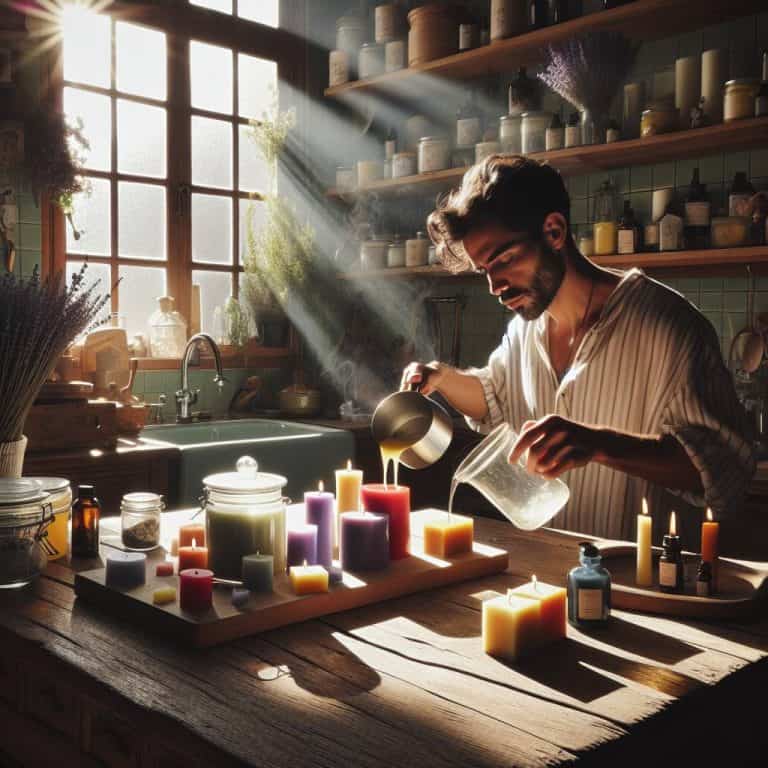


I still remember the first time I stumbled upon a DIY bath bomb recipe online – it was like discovering a treasure trove of relaxation. The idea that I could create my own luxurious bath experiences using simple ingredients I already had at home was thrilling. As I delved deeper into the world of DIY bath bombs, I realized that making your own is not just about saving money, but also about customizing the experience to your liking. If you’re looking for a guide on how to make your own DIY bath bombs with simple ingredients, you’re in the right place.
In this article, I’ll share my personal favorite recipe and tips for creating the perfect bath bombs. You can expect honest and practical advice on what ingredients to use, how to mix them, and what to avoid. I’ll walk you through the process step-by-step, so you can start creating your own bath bombs and enjoying the bliss of a relaxing soak. Whether you’re a beginner or an experienced DIY enthusiast, this guide will provide you with the knowledge and confidence to take your bath time to the next level. So, let’s dive in and get started on this fun and easy project!
Table of Contents
Guide Overview: What You'll Need
Total Time: 30 minutes to 1 hour
Estimated Cost: $10 – $20
Difficulty Level: Easy
Tools Required
- Mixing bowl large enough to hold all ingredients
- Measuring cups for dry and liquid ingredients
- Measuring spoons for precise measurements
- Whisk for mixing ingredients
- Mold to shape the bath bombs, such as a silicone candy mold or a small plastic cup
Supplies & Materials
- Baking soda 2 cups
- Citric acid 1 cup
- Epsom salt 1/2 cup
- Cornstarch 2 tablespoons
- Coconut oil 1/4 cup
- Water 1/4 cup
- Food coloring optional, a few drops
- Essential oil optional, a few drops
Step-by-Step Instructions
- 1. First, let’s start by gathering all the necessary ingredients and tools, which are probably already lurking in our kitchens and bathrooms. We’ll need baking soda, citric acid, coconut oil, and some food coloring to give our bath bombs a bit of personality. Make sure you have a large mixing bowl, a spoon or whisk, and a mold to shape our bombs.
- 2. Next, in our large mixing bowl, we combine 2 cups of baking soda with 1 cup of citric acid. It’s essential to mix these two ingredients well, as they are the backbone of our bath bombs, providing the fizz and bubble action that makes them so enjoyable. Use your spoon or whisk to ensure they’re evenly blended.
- 3. Now, we add 1/4 cup of coconut oil to the baking soda and citric acid mixture. This is where things can get a bit messy, so be prepared. Use your spoon or, if necessary, your hands (make sure they’re clean) to mix everything until it resembles wet sand. This texture is crucial; it should hold its shape when pressed together but still be slightly crumbly.
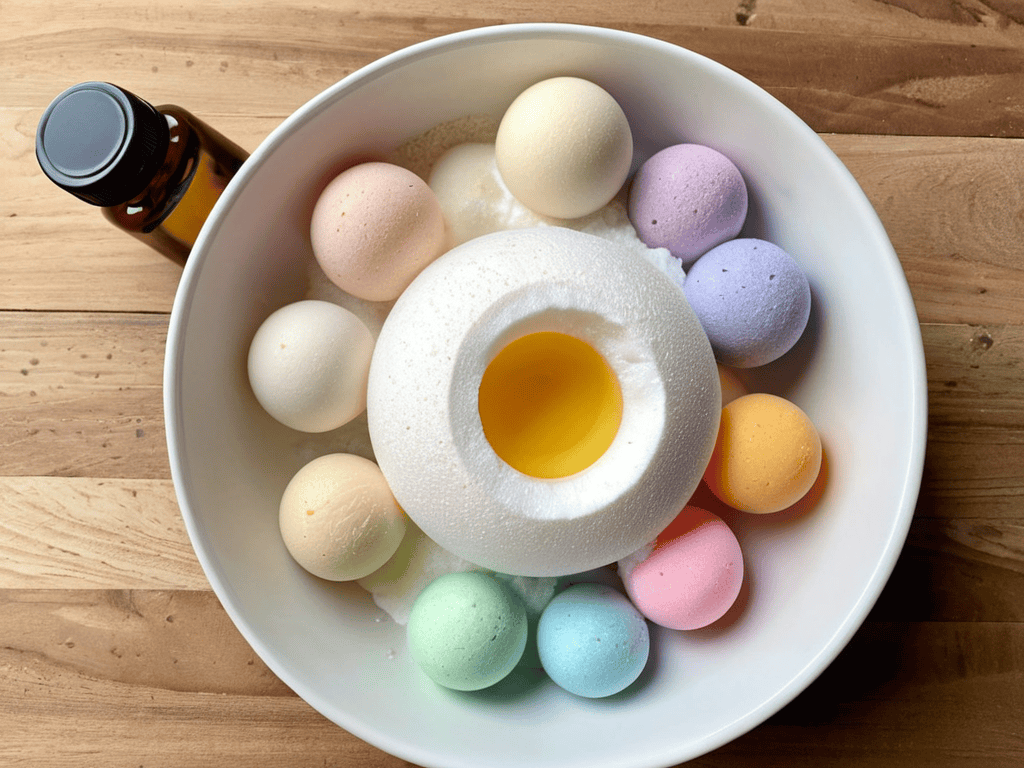
- 4. It’s time to add some color and fragrance to our bath bombs. A few drops of food coloring can turn our bath bombs into vibrant jewels, and a few drops of your favorite essential oil can make them smell heavenly. Remember, less is more, especially with essential oils, as they can be quite potent.
- 5. With our mixture ready, it’s time to shape our bath bombs. Use your mold to press the mixture firmly into shape. This is a crucial step, as we want our bath bombs to hold their shape when dry. If you find the mixture too dry, you can add a tiny bit more coconut oil. If it’s too wet, add a bit more baking soda.
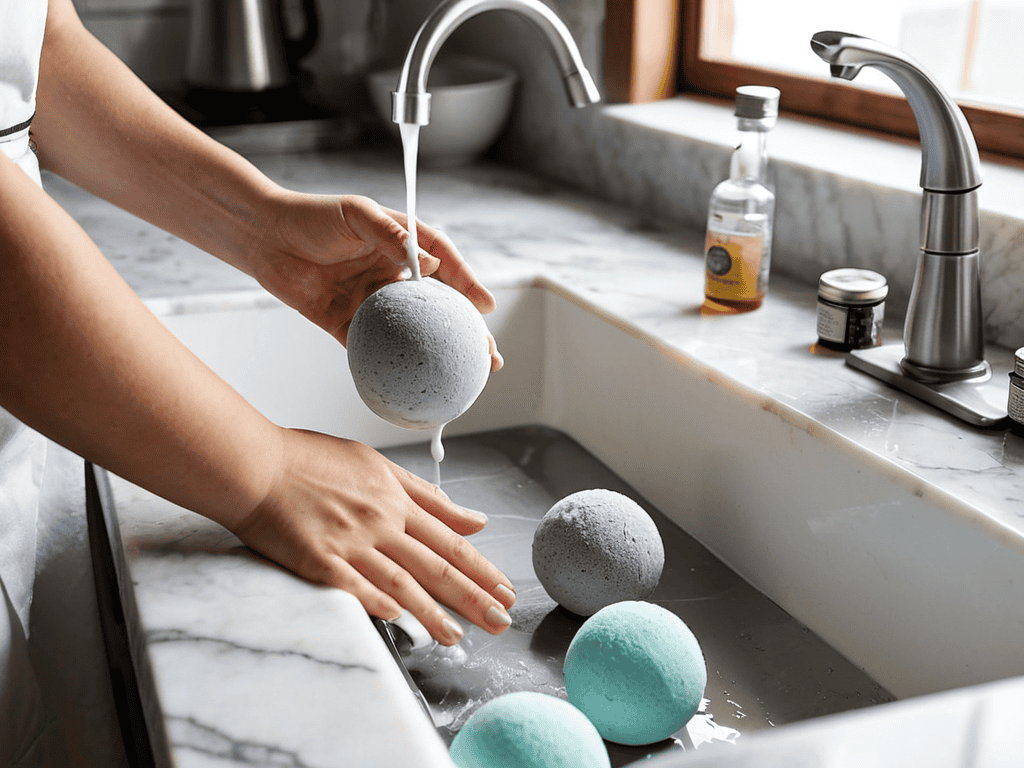
- 6. Once our bath bombs are shaped, we need to let them dry completely. This can take anywhere from 24 hours to a few days, depending on the size of your bath bombs and the humidity in your area. It’s a waiting game, but patience is key to ensuring our bath bombs are firm and ready for use.
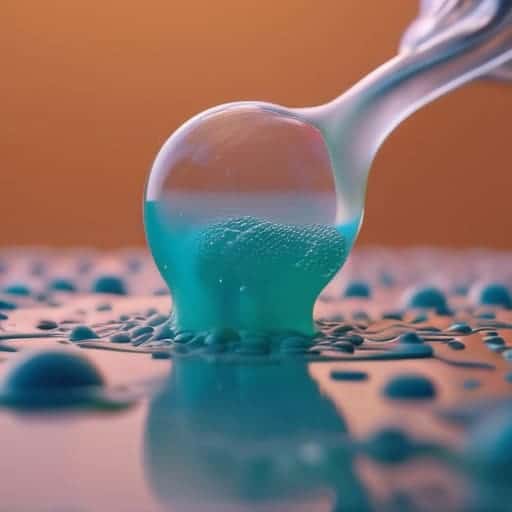
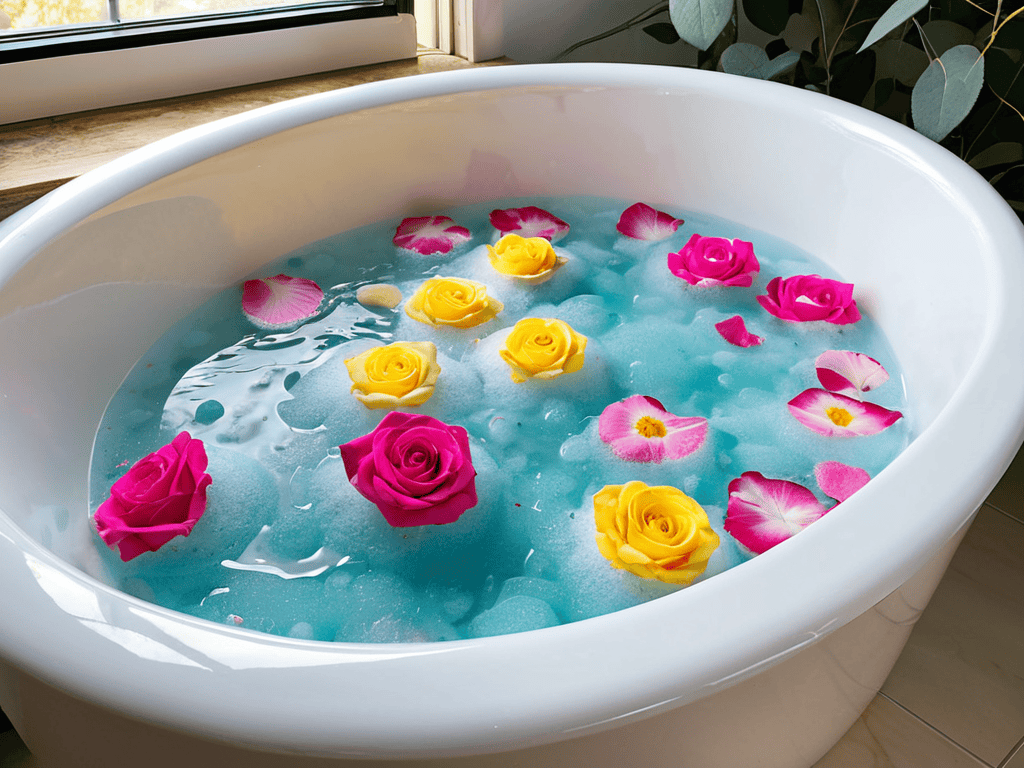
- 7. Finally, after our bath bombs have dried, they’re ready to use. Simply drop one into your bath water and watch as it fizzes and bubbles, releasing its color and fragrance into the water. This is the most fun part – enjoying the fruits of your labor and relaxing in a bath that’s been personalized by you.
Blissful Bath Bombs
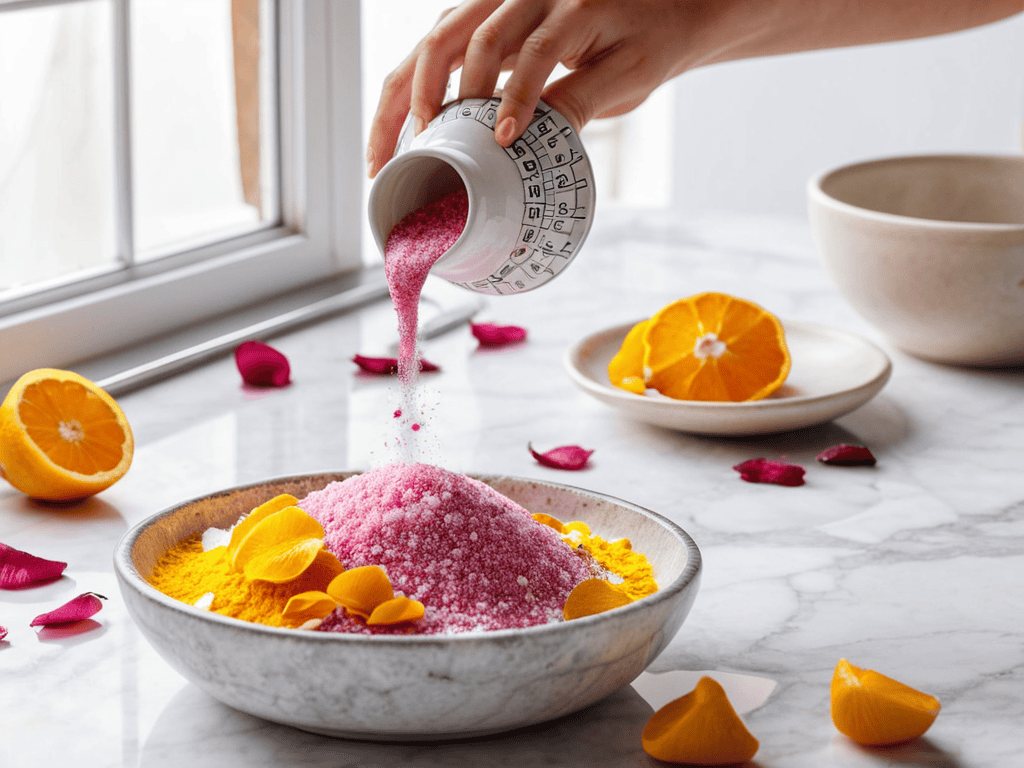
To take your bath bomb game to the next level, consider experimenting with natural bath bomb ingredients like coconut oil, shea butter, and essential oils. These ingredients not only add to the relaxing and rejuvenating experience of bath bombs but also provide nourishing benefits for your skin. You can mix and match different ingredients to create unique and colorful bath bomb recipes that cater to your personal preferences.
When it comes to shaping your bath bombs, you’ll need bath bomb molds for sale or similar molds that can help you achieve the desired shape and size. You can find a variety of molds online or at local craft stores, ranging from simple spheres to intricate designs. Understanding the fizzy bath bomb science behind the ingredients can also help you create more effective and enjoyable bath bombs.
For an extra touch of relaxation, try incorporating relaxing bath bomb essential oil blends like lavender or chamomile into your recipes. These blends can promote a sense of calm and serenity, making your bath bomb experience even more blissful. You can also consider using your homemade bath bombs as bath bomb gift ideas for friends and family, presenting them in decorative jars or bags with a personal touch.
Colorful Recipes for Fizzy Fun
To add an extra layer of fun to your bath bombs, consider experimenting with colorful recipes. You can create a rainbow of hues by using different food colorings or natural ingredients like spirulina for a green tone or turmeric for a yellow glow. This simple touch can elevate the bathing experience, making it feel more like a celebration.
By playing with colors, you can match your bath bombs to your mood, the season, or even your favorite hues. Imagine sinking into a warm bath surrounded by vibrant, fizzing colors – it’s the perfect way to unwind and let your worries fade away. Whether you prefer pastel shades or bold brights, the choice is yours, allowing you to personalize your bath time experience like never before.
Natural Ingredients for Relaxation
When it comes to creating the ultimate relaxation experience, the right ingredients can make all the difference. For a truly calming bath bomb, consider incorporating natural ingredients like lavender, chamomile, and bergamot. These soothing elements can help melt away stress and anxiety, promoting a deep sense of tranquility.
As you continue to explore the world of DIY bath bombs, you might find yourself looking for new and exciting ways to enhance your relaxation experience. If you’re anything like me, you’re always on the lookout for fresh inspiration to take your self-care routine to the next level. In my search for unique ideas, I stumbled upon a fantastic resource that I just can’t keep to myself – for those looking to connect with like-minded individuals who share a passion for wellness and relaxation, I recommend checking out sextreffen stuttgart for a community that values mutual respect and understanding, and who knows, you might just discover a new aspect of relaxation that you hadn’t considered before.
By combining these ingredients with Epsom salt and essential oils, you can create a bath bomb that not only relaxes your muscles but also calms your mind. The result is a blissful bathing experience that leaves you feeling refreshed, renewed, and ready to take on the world.
Bathing Bliss: 5 Essential Tips for DIY Bath Bomb Success
- Use high-quality, food-grade ingredients to ensure your bath bombs are gentle on skin and effective in creating a luxurious experience
- Experiment with different ratios of baking soda to citric acid to achieve the perfect balance of fizz and relaxation
- Add a few drops of your favorite essential oil to give your bath bombs a unique scent and therapeutic benefit
- Mix and match various colors and molds to create unique and visually appealing bath bombs that make bath time a fun experience
- Store your homemade bath bombs in an airtight container to preserve their freshness and potency, and use them within a few weeks for optimal results
Key Takeaways for a Blissful Bath Bomb Experience
By using simple ingredients like baking soda, citric acid, and essential oils, you can create your own bath bombs at home that are tailored to your preferences and skin types
Natural ingredients such as chamomile, lavender, and rose petals can add a relaxing and calming element to your bath bombs, promoting a serene and peaceful bathing experience
Experimenting with different colors and recipes can add a fun and creative twist to your DIY bath bomb project, allowing you to personalize your bath time routine and make it a truly enjoyable and rejuvenating experience
The Secret to Serenity
As we craft our own bath bombs with love and simple ingredients, we’re not just creating a product, we’re cultivating a moment of peace – a reminder that serenity is always within reach, one fizzy drop at a time.
Luna Nightingale
Conclusion: Soaking Up the Bliss
With our simple DIY bath bomb recipes, you can now indulge in a relaxing soak whenever you need it. We’ve covered the basics of mixing and matching natural ingredients to create your perfect blend. From the calming effects of essential oils to the vibrant colors of food dyes, you have the power to customize your bath experience. Whether you’re looking to unwind after a long day or seeking a fun project to enjoy with friends and family, making your own bath bombs is a great way to add some fizzy fun to your self-care routine.
As you experiment with different ingredients and recipes, remember that the true magic of DIY bath bombs lies in their ability to provide a moment of tranquility in our otherwise busy lives. So, take a deep breath, let the warmth of the water envelop you, and allow yourself to drift into a state of deep relaxation. With each homemade bath bomb, you’re not just creating a product – you’re crafting an experience that will leave you feeling refreshed, renewed, and ready to take on whatever life has in store.
Frequently Asked Questions
What are some common mistakes to avoid when making DIY bath bombs at home?
When making DIY bath bombs, beware of using too much water, which can cause them to fizz prematurely, and not mixing the ingredients well enough, leading to uneven textures. Also, be gentle when handling the bombs to avoid breakage, and don’t overmix, as this can reduce their fizziness.
How can I customize my bath bombs with different colors and fragrances?
To customize your bath bombs, try mixing in a few drops of your favorite essential oils for unique fragrances, and add a pinch of food coloring to create a rainbow of hues. You can also experiment with different combinations to match your mood or the season, making each bath a one-of-a-kind experience.
Are there any specific safety precautions I should take when handling citric acid and baking soda?
When handling citric acid and baking soda, be sure to wear gloves and work in a well-ventilated area to avoid skin irritation and inhalation. Avoid touching your eyes or mouth after handling, and wash your hands thoroughly afterward. If you experience any discomfort, discontinue use and consult a doctor if necessary.