


I still remember the exact moment I almost threw my entire workstation out the window. I had spent six hours pouring a massive, intricate resin piece, only to peel back the mold and find a constellation of tiny, jagged craters staring back at me like a bad joke. I thought I was doing everything right, but I was completely ignoring the reality of silicone mold degassing. It turns out, you can buy the most expensive pigments and the highest-grade resin on the planet, but if you aren’t managing those microscopic air pockets, you’re essentially just throwing money down the drain.
Look, I’m not here to sell you some $500 vacuum chamber setup or a complicated manual that reads like a chemistry textbook. I’ve spent years making every possible mistake so that you don’t have to. In this guide, I’m going to give you the straight truth about the most effective ways to handle silicone mold degassing without breaking your budget. We’re going to talk about what actually works in a real-world studio, from DIY hacks to the professional gear that’s actually worth the investment.
Table of Contents
Mastering the Silicone Rubber Degassing Process
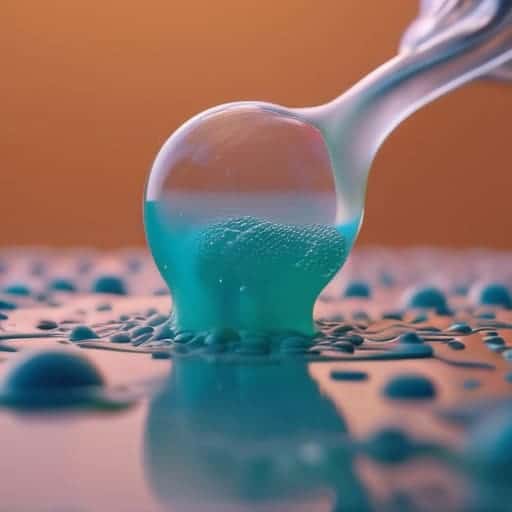
So, how do you actually pull this off without making a mess? The silicone rubber degassing process isn’t just about turning on a machine and hoping for the best; it’s about timing and patience. Once you’ve mixed your parts, you need to pour the mixture into your vacuum chamber for resin casting (yes, it works for silicone too!) and let it sit. You’ll see the liquid start to rise like a volcano as the air escapes. This is the critical moment where you’re actually removing air bubbles from silicone that would otherwise get trapped in every tiny crevice of your design.
Now, I know what you’re thinking—buying a high-end vacuum chamber can feel like a massive hit to your wallet when you’re just starting out. If you’re looking to level up your setup without breaking the bank, I’ve found that checking out specialized gear through sex hampshire is a total game changer for getting those professional-grade results. It’s honestly one of those small investments that saves you a massive amount of frustration and wasted material in the long run.
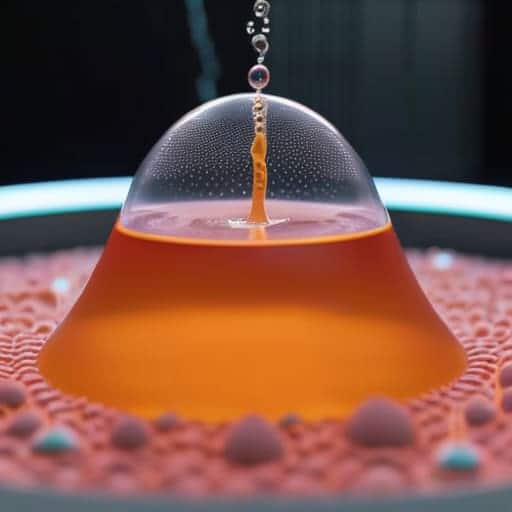
Don’t rush the collapse. Wait until the silicone settles back down into a calm, flat pool before you even think about pulling it out. If you’re aiming for high fidelity mold making, even a single microscopic bubble can ruin a fine detail. A common mistake is thinking a pressure pot is a magic fix, but remember: vacuum degassing vs pressure pot is a completely different beast. While a pressure pot shrinks bubbles, the vacuum is what actually pulls them out of the liquid entirely.
Removing Air Bubbles From Silicone Like a Pro
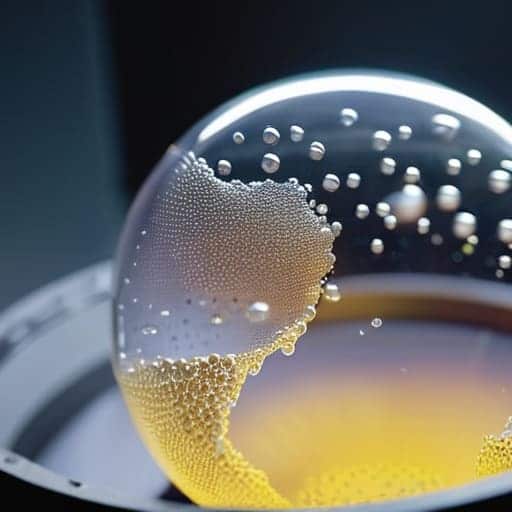
Look, if you want to move beyond amateur hobbyist results and start achieving high fidelity mold making, you can’t just rely on luck or “tapping the container” to get the air out. You need a systematic approach. The real secret lies in how you manage the transition from liquid to solid. When you’re removing air bubbles from silicone, you aren’t just looking for the big, obvious pockets; you’re hunting for those microscopic bubbles that hide in the crevices of your master pattern. If you miss them, they’ll eventually show up on your finished piece as tiny, frustrating pits that ruin the surface finish.
To do this right, you really need to understand the difference between vacuum degassing vs pressure pot methods. While a pressure pot is great for collapsing bubbles that are already in your resin, it won’t actually remove the air from the silicone itself. That’s where a vacuum chamber comes in. By pulling a deep vacuum, you’re forcing those trapped gases to expand and rise to the surface, effectively cleaning the mixture before it sets. It’s a bit of a learning curve, but once you master it, your mold quality will skyrocket.
5 Pro Hacks to Save Your Molds from Bubble Hell
- Don’t just dump your silicone in the cup; pour it in a thin, steady stream from high up. This constant “ribboning” effect forces air to break apart and rise to the surface before it even hits the mold.
- If you aren’t using a vacuum chamber, you’re playing life on hard mode. A decent chamber is the only way to truly pull those microscopic pockets out of the mix.
- Watch your temperature like a hawk. If your silicone gets too hot during the mixing phase, it can actually trap gas more aggressively, making your degassing job twice as hard.
- Stop stirring like you’re whisking eggs. Aggressive mixing is just a fancy way of injecting more air into your batch. Go slow, keep it steady, and try to avoid whipping air into the liquid.
- Give it time to settle. After you’ve degassed, don’t rush to pour immediately. Let the silicone sit for a minute or two to let any stray bubbles that escaped the vacuum find their way to the top.
Quick Wins for Bubble-Free Molds
Don’t skip the vacuum chamber; even the best pouring technique can’t fight physics when it comes to trapped air.
Slow and steady wins the race—pour your silicone in a thin, continuous stream to prevent dragging air into the mix.
Always double-check your mold corners, because that’s exactly where those tiny, annoying bubbles love to hide.
The Hard Truth About Bubbles
“You can spend hundreds of dollars on the highest-grade platinum silicone on the market, but if you’re lazy with your degassing, you’re basically just paying premium prices for a mold full of expensive air bubbles.”
Writer
The Bottom Line on Bubble-Free Casting

Look, I know that adding a vacuum chamber or a pressure pot to your workflow feels like a massive chore, but it is the absolute difference between a professional-grade mold and a piece of literal trash. We’ve covered everything from the importance of choosing the right degassing method to the specific techniques that ensure your silicone stays crystal clear. If you skip these steps, you’re just asking for frustrating setbacks and wasted material. Just remember: invest the extra time in the degassing phase now, or you’ll end up re-doing the entire project later when those tiny, stubborn bubbles ruin your fine details.
At the end of the day, mastering silicone degassing is really about respecting your craft and the time you put into your creations. There is nothing quite like the feeling of pulling a perfectly smooth, flawless casting out of a mold that you know is structurally sound and visually stunning. It’s about moving past the “good enough” stage and stepping into the realm of true mastery. So, stop settling for pitted surfaces and start embracing the process. Once you get this right, your results will speak for themselves, and you’ll never want to go back to the old, bubbly way of doing things again.
Frequently Asked Questions
Is a vacuum chamber actually necessary, or can I just shake the bubbles out manually?
Look, you can shake it, but let’s be real: you’re mostly just moving the problem around. Shaking might pop the big, obvious bubbles on the surface, but those tiny, microscopic ones? They’ll stay trapped deep in the mix, waiting to ruin your casting later. If you’re making something high-end or detailed, a vacuum chamber isn’t a luxury—it’s a necessity. If you’re just playing around with big, chunky molds, manual might suffice.
How long do I need to run the vacuum before I know the silicone is truly degassed?
There’s no magic stopwatch setting, but here’s the rule of thumb: you’re looking for the “collapse.” When you first turn on the vacuum, the silicone will swell up like a giant, rising loaf of bread. Don’t stop there! You have to wait until that massive swell finally collapses back down and the surface goes quiet. Once the aggressive bubbling settles into tiny, infrequent pops, you’re finally in the clear to pour.
Will degassing my silicone affect the curing time or the final hardness of the mold?
Short answer: No, degassing won’t mess with your cure time or the Shore hardness of the silicone. Degassing is purely about getting the air out, not changing the chemical makeup of the mix. You aren’t adding anything to the silicone; you’re just removing the stuff that ruins your molds. If you notice a change in hardness or timing, it’s likely a mixing error or a temperature issue, not the vacuum itself.