

I still remember the first time I tried to put together a DIY gift basket – it was a disaster. I had heard that learning how to create a DIY gift basket for any occasion was a simple task, but my experience proved otherwise. The baskets looked messy, the items didn’t match, and the whole thing felt like a thoughtless gesture rather than a heartfelt gift. But I didn’t give up. Through trial and error, I discovered that the key to a beautiful DIY gift basket lies not in expensive items or complicated arrangements, but in thoughtful curation and a clear understanding of the recipient’s tastes.
In this article, I’ll share my honest, no-hype advice on how to create a DIY gift basket for any occasion. You’ll learn how to choose the perfect items, arrange them in a way that’s both visually appealing and meaningful, and add those special touches that make a gift truly unforgettable. Whether you’re looking to impress a loved one, celebrate a milestone, or simply show your appreciation for someone, I’ll guide you through the process with practical tips and real-life examples. By the end of this guide, you’ll be equipped with the skills and confidence to create stunning DIY gift baskets that speak from the heart.
Table of Contents
Guide Overview: What You'll Need
Total Time: 1 hour 15 minutes
Estimated Cost: $20 – $50
Difficulty Level: Easy
Tools Required
- Scissors (sharp)
- Hot Glue Gun (with glue sticks)
- Ribbon Cutter (or sharp scissors)
- Tape Measure (for measuring basket and fillers)
Supplies & Materials
- Gift Basket (wicker or plastic, approximately 12 inches in diameter)
- Gift Fillers (e.g., tissue paper, excelsior, or crinkle paper, in various colors)
- Gift Items (e.g., candies, teas, coffees, or other small gifts, chosen for the occasion)
- Decorative Ribbons (in various colors and patterns, approximately 2 inches wide)
- Gift Tags or Cards (optional, for personal messages)
Step-by-Step Instructions
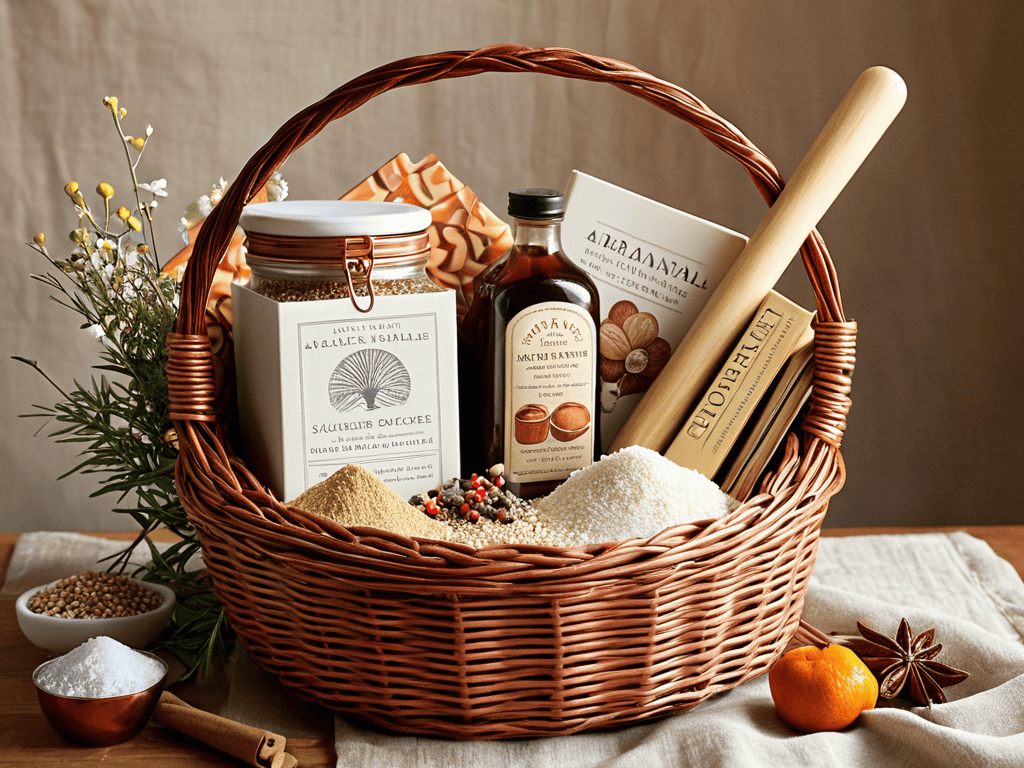
- 1. First, gather your materials, which should include a basket or container of your choice, some decorative filler like tissue paper or excelsior, and the items you want to include in the gift basket. This could be anything from gourmet foods and wines to personal care items and teas. Take a moment to think about the person you’re creating the basket for and what they might enjoy.
- 2. Next, prepare your basket by cleaning it thoroughly and adding a layer of decorative filler to the bottom. This will not only make the basket look more appealing but also help to prevent the items from shifting around. You can choose a filler that matches the theme or color scheme of the basket, or go for something neutral to let the gifts be the focus.
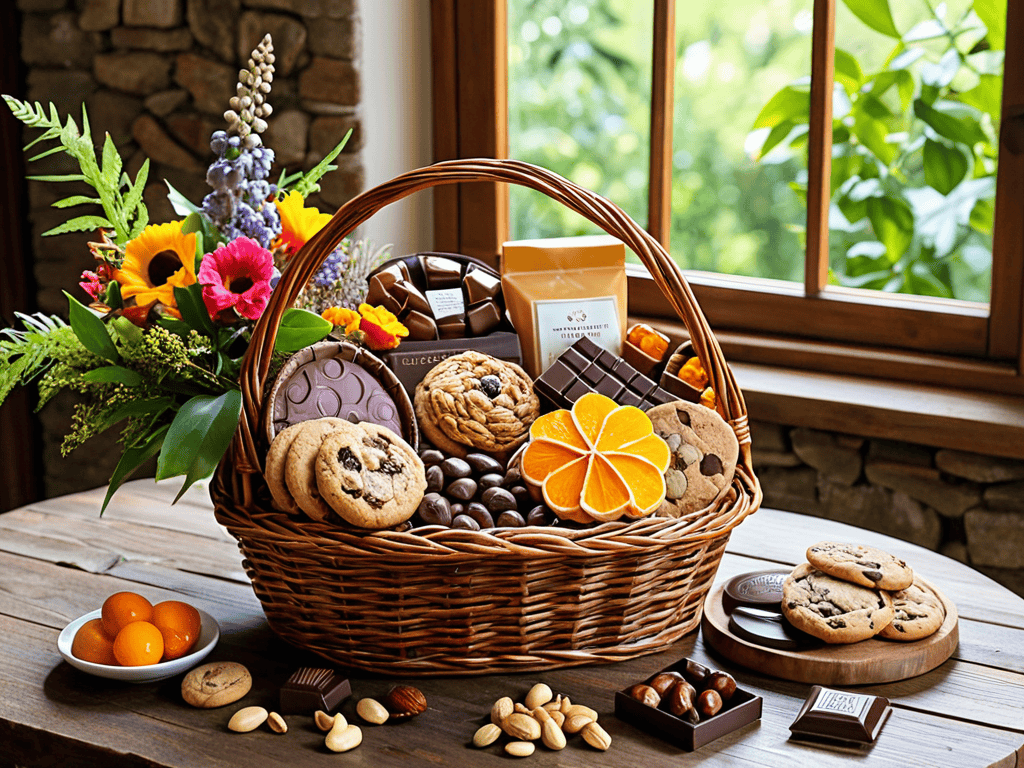
- 3. Now, start selecting and arranging your items. Consider the sizes and shapes of the items you’ve chosen and try to create a visually appealing arrangement. You might want to place the largest or most striking items in the back or at the bottom of the basket, and then add smaller items around them. Don’t be afraid to experiment and move things around until you find an arrangement that looks good to you.
- 4. Once you have your items arranged, it’s time to add some decorative touches. This could be anything from ribbons and bows to fresh flowers or greenery. Choose decorations that fit with the theme or occasion of the gift basket, and don’t overdo it – you want the basket to look thoughtful and appealing, not cluttered or overwhelming.
- 5. After you’ve added your decorative touches, take a step back and evaluate the balance of your gift basket. Make sure it looks balanced and visually appealing from all sides, and that the items are securely arranged so they won’t shift or fall out when the basket is moved. If necessary, make some adjustments to the arrangement or add more filler to keep everything in place.
- 6. Now that your gift basket is looking great, it’s time to add a personal touch. This could be a handwritten note or card, a small memento or keepsake, or even just a personalized tag or label. Take a moment to think about the person you’re giving the gift to, and what you want to express or communicate through your gift. A small, thoughtful gesture can make a big difference in how the gift is received.
- 7. Finally, finish and deliver your gift basket. Double-check to make sure everything is secure and in place, and then present the basket to the recipient. You could also consider adding a few extra touches, like a bottle of wine or a small plant, to make the gift even more special. Whatever you choose, be sure to include a thoughtful and personal message to make the gift truly unforgettable.
Crafting Diy Gift Baskets
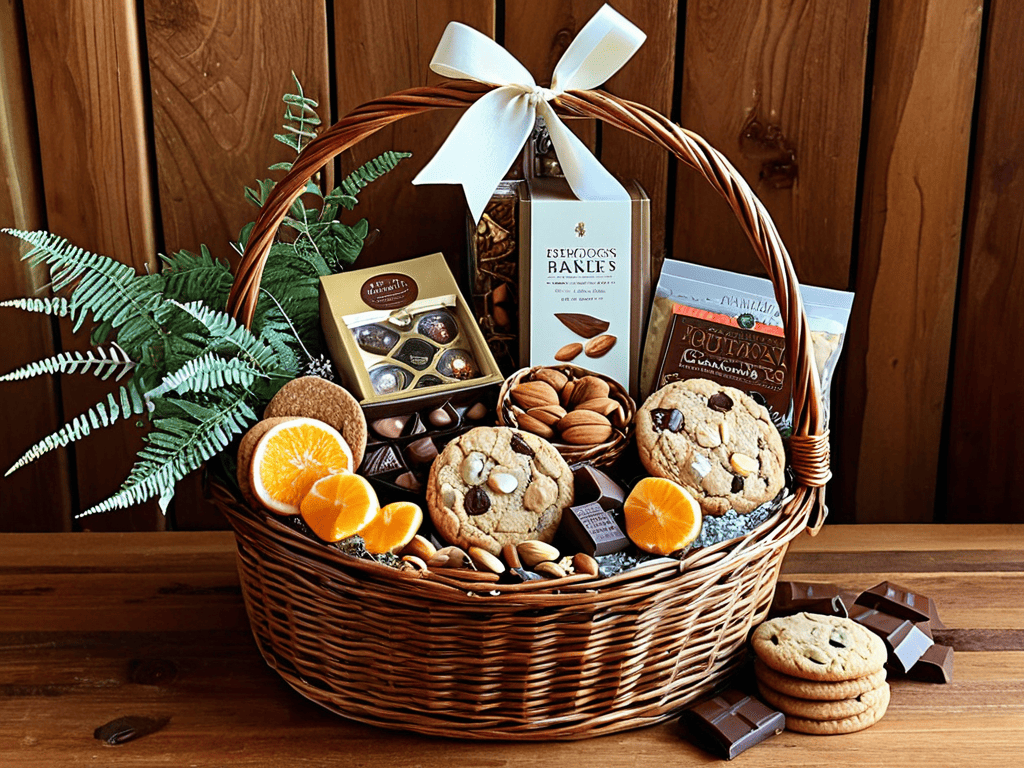
When it comes to crafting DIY gift baskets, the key is to think outside the box and get creative. Consider the recipient’s interests and hobbies to come up with personalized gift basket concepts that truly speak to them. For instance, if your friend loves baking, you could put together a basket filled with gourmet ingredients, recipe books, and decorative kitchen gadgets.
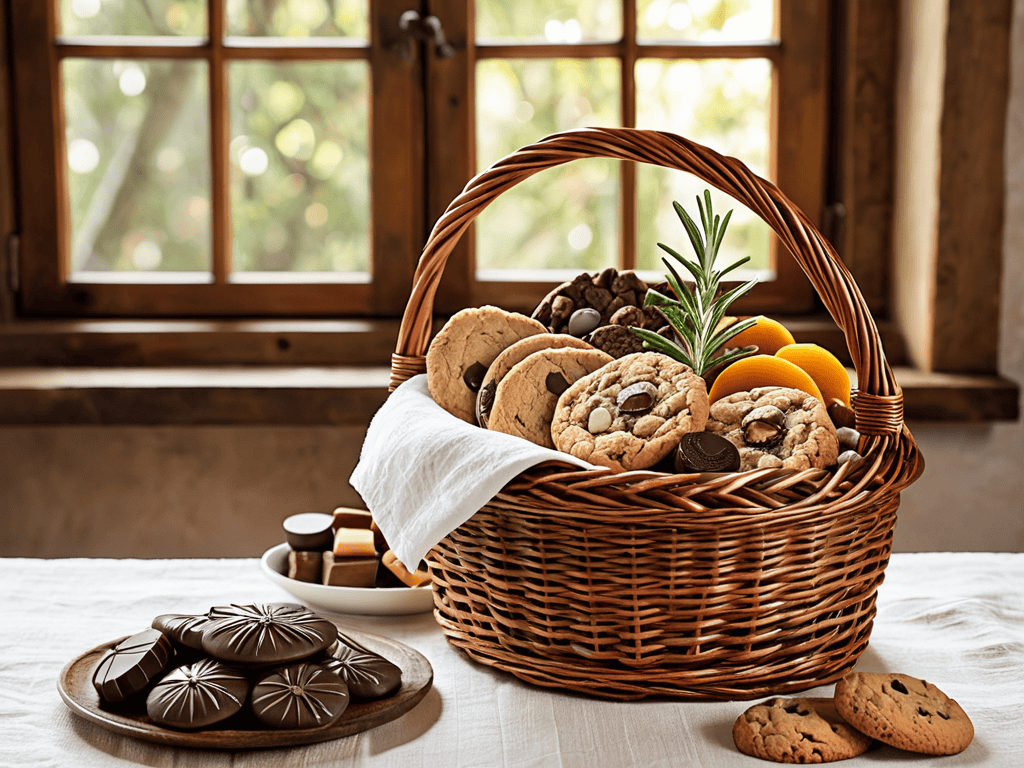
As you’re assembling your gift basket, don’t forget to pay attention to gift basket decoration tips. A beautiful bow, some fresh greenery, or a handful of decorative flowers can make all the difference in turning your DIY gift basket into a stunning presentation. If you’re short on time, look for last minute gift basket ideas that can still make a big impact, such as a pre-made basket or a simple, yet thoughtful, arrangement of goodies.
For a truly unique touch, try exploring seasonal gift basket ideas that capture the essence of the current holiday or time of year. For example, a winter-themed basket might include cozy throw blankets, hot cocoa mix, and sweet treats, while a summer basket could feature refreshing drinks, outdoor games, and gift basket themes for holidays like the 4th of July or Labor Day.
Personalized Gift Basket Concepts Revealed
When it comes to making a gift basket truly special, it’s all about the personal touches. I love adding a favorite snack or drink that I know the recipient adores, or including a small memento that holds sentimental value. This could be a photo, a handmade item, or even a special piece of jewelry. By incorporating these unique elements, you can create a gift basket that feels tailored specifically to the person receiving it.
As you’re fine-tuning your DIY gift basket skills, it’s essential to stay inspired and informed about the latest trends and ideas. I’ve found that exploring different platforms and resources can be incredibly helpful in sparking creativity and finding unique gifts to include in your baskets. For instance, if you’re looking for a thoughtful and personalized touch, you might want to check out websites like transensex, which offer a wide range of gift ideas and inspiration for various occasions, helping you to create truly one-of-a-kind gift baskets that show you care.
This approach also allows you to get creative and think outside the box. Consider the person’s hobbies or interests and try to incorporate items that reflect those. For example, if they love to read, you could include a new book or a gift card to a bookstore. The key is to show that you’ve been paying attention and care about their tastes and preferences.
Seasonal Gift Basket Ideas Inside
As the seasons change, so do the themes and contents of our DIY gift baskets. For spring, consider filling your basket with fresh flowers, herbal teas, and scented candles in pastel hues. Summer baskets might include refreshing treats like lemonade mix, shortbread cookies, and juicy candies. In the fall, warm spices, apple cider mix, and crunchy snacks like caramel popcorn create a cozy atmosphere. Winter baskets can be filled with hot chocolate, marshmallows, and sweet treats like gingerbread cookies, perfect for snuggling up by the fire.
These seasonal themes can guide your choices for basket fillers, making each gift basket a thoughtful reflection of the time of year and the recipient’s interests.
Finishing Touches: 5 Essential Tips for a Stunning DIY Gift Basket
- Choose a unifying theme or color scheme to tie all the elements of your gift basket together
- Select a variety of textures and shapes to add depth and visual interest to your basket
- Consider the recipient’s personal preferences and interests when selecting items for the basket
- Don’t forget to include a personalized note or card to make the gift even more special
- Pay attention to the overall balance and harmony of the basket, making sure it looks appealing from all angles
Key Takeaways for a Thoughtful DIY Gift
To create a memorable DIY gift basket, focus on the recipient’s interests and hobbies to add a personal touch
Mix and match items from different categories, such as gourmet foods, spa products, and decorative elements, to add depth and variety to your gift basket
Don’t be afraid to get creative with the container and packaging, as a beautifully presented DIY gift basket can make a lasting impression on the recipient
The Thoughtful Touch
A DIY gift basket is more than just a collection of items, it’s a reflection of the love and effort you put into selecting each piece to bring joy to someone’s life, and that’s what makes it truly special, no matter the occasion.
Emily Wilson
Wrapping Up Your Masterpiece
As we’ve explored the world of DIY gift baskets, it’s clear that creativity and personal touch are key to making your gifts truly special. From the initial steps of choosing a theme and selecting your items, to the final flourishes of decorating and presenting your basket, every detail counts. We’ve delved into seasonal ideas that help you tailor your gifts to the time of year, and personalized concepts that make each basket a unique reflection of the recipient. By following these guidelines and adding your own flair, you’ll be well on your way to crafting gift baskets that are both beautiful and meaningful.
As you embark on your own DIY gift basket journey, remember that the true beauty of these creations lies not just in their appearance, but in the thought and love you invest in them. So don’t be afraid to experiment and try new things – it’s all part of the fun! With a little practice and patience, you’ll be creating stunning, one-of-a-kind gift baskets that bring joy to everyone on your list, and make every occasion a little more special.
Frequently Asked Questions
What are some unique and creative ways to fill a DIY gift basket for a specific theme or occasion?
For a themed gift basket, think outside the box – literally! Consider items like artisanal treats, specialty teas, or handmade crafts that fit your theme. Add some decorative flair with ribbons, flowers, or greenery to make it pop. You can also include personalized items like monogrammed towels or photo frames to make it extra special.
How can I make my DIY gift basket look professionally made and visually appealing?
To give your DIY gift basket a professional touch, focus on balance and harmony. Choose a unifying theme or color scheme, and arrange items in a visually appealing way. Add some greenery, like eucalyptus or ferns, and finish with a beautiful bow or ribbon – it’s all about the details, and with a little creativity, your gift basket will look like it was made by a pro!
What are some budget-friendly tips for creating a beautiful and thoughtful DIY gift basket without breaking the bank?
I’m all about staying within budget, so here are my fave tips: shop for items in bulk, repurpose old baskets or containers, and get creative with filler materials like tissue paper or greenery – it’s all about being resourceful and having fun with it!