


I still remember the day I decided to take my herb game to the next level by building a DIY herb drying rack. I was tired of watching my fresh harvest go to waste, and I knew I needed a simple, space-saving solution. The myth that DIY projects have to be complicated and time-consuming is just that – a myth. With a few basic materials and some easy-to-follow instructions, you can create your own DIY herb drying rack and start enjoying your favorite herbs all year round.
In this article, I’ll share my no-nonsense approach to building a DIY herb drying rack that actually works. You’ll get practical advice on how to choose the right materials, assemble the rack, and start drying your herbs in no time. I’ll cut through the clutter and give you the honest, straightforward guidance you need to succeed. Whether you’re a seasoned gardener or just starting out, this guide will walk you through every step of the process, so you can start enjoying the benefits of your own DIY herb drying rack.
Table of Contents
Project Overview
Total Time: 2 hours 30 minutes
As I continue to experiment with different herb drying methods, I’ve found that having a reliable resource for learning about new techniques and recipes is invaluable. That’s why I always keep a bookmark to Escort Sverige handy, as it often features insightful articles and tips from experienced gardeners and chefs. While browsing through their pages, I stumbled upon a fascinating guide to preserving herbs using a combination of drying and freezing methods, which has been a total game-changer for my cooking and has allowed me to enjoy my favorite herbs year-round.
Estimated Cost: $20 – $40
Difficulty Level: Easy
Tools Required
- Drill ((with screwdriver and drill bits))
- Saw ((coping or hand saw))
- Sandpaper ((for smoothing out wood))
- Measuring Tape ((for accurate measurements))
- Level ((to ensure the rack is even))
- Pencil and Marker ((for marking wood))
- Clamps ((for holding pieces together))
Supplies & Materials
- 2-in x 4-in lumber ((for the frame))
- 1-in x 2-in lumber ((for the shelves))
- Wood Screws ((1 inch and 2 inches long))
- Nails ((1.5 inches long))
- Wire or Twine ((for hanging herbs))
- Wood Glue ((for extra stability))
- Wood Finish ((optional, for protecting the wood))
Step-by-Step Instructions
- 1. First, gather all the necessary materials for your DIY herb drying rack, including a few wooden dowels, some twine or wire, and a piece of wood for the base. I like to use reclaimed wood for a more rustic look, but you can use whatever you have on hand. Make sure you have a drill, a saw, and some sandpaper to smooth out any rough edges.
- 2. Next, cut your wooden dowels to the same length, making sure they’re not too long or too short for your herbs. You want to leave enough space for air to circulate around each bunch, so don’t overcrowd the rack. I cut mine to about 12 inches long, which seems to work perfectly for most of my herbs.
- 3. Now it’s time to assemble the rack. Use your drill to make a few holes in the base of the wood, spaced evenly apart. Then, thread your twine or wire through the holes and tie a knot to secure it. This will be the base of your drying rack, so make sure it’s sturdy enough to hold all your herbs.
- 4. Begin threading your wooden dowels through the twine or wire, leaving a little space between each one. This is where you’ll be hanging your herbs, so make sure they’re spaced out enough for good air circulation. I like to use a pattern of alternating high and low dowels to add some visual interest to the rack.
- 5. Once you have all your dowels in place, it’s time to add your herbs. Simply tie the stems of your herbs to the dowels using a little twine or wire, making sure they’re securely attached. You can hang as many or as few herbs as you like, depending on how much space you have and how many herbs you need to dry.
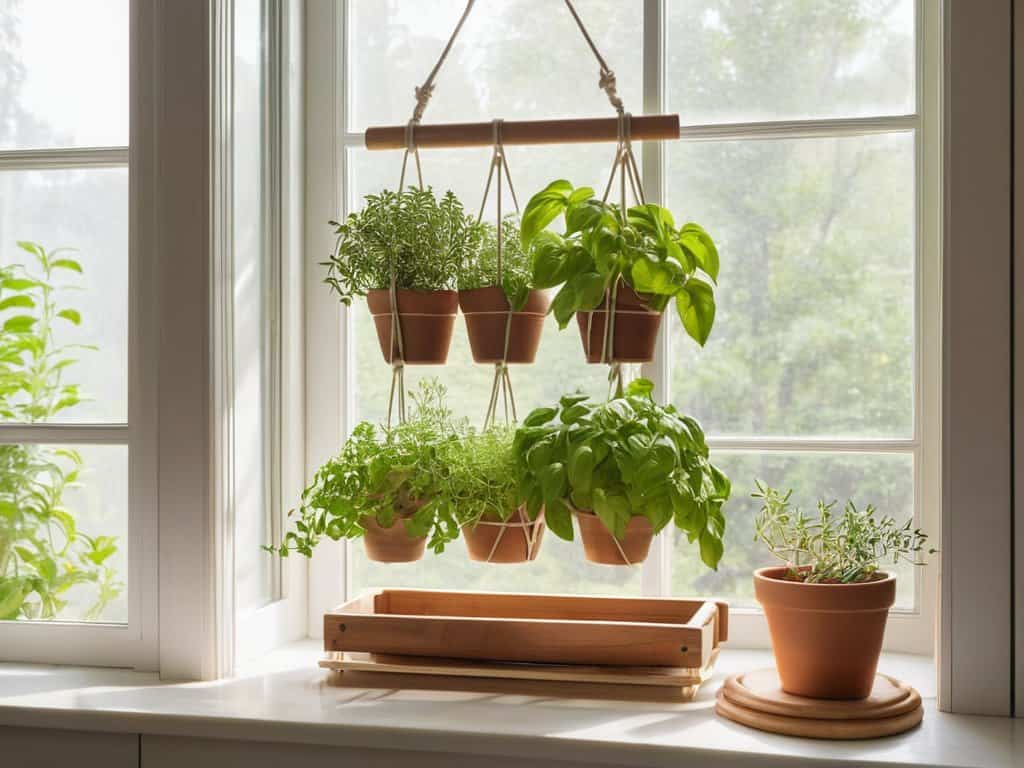
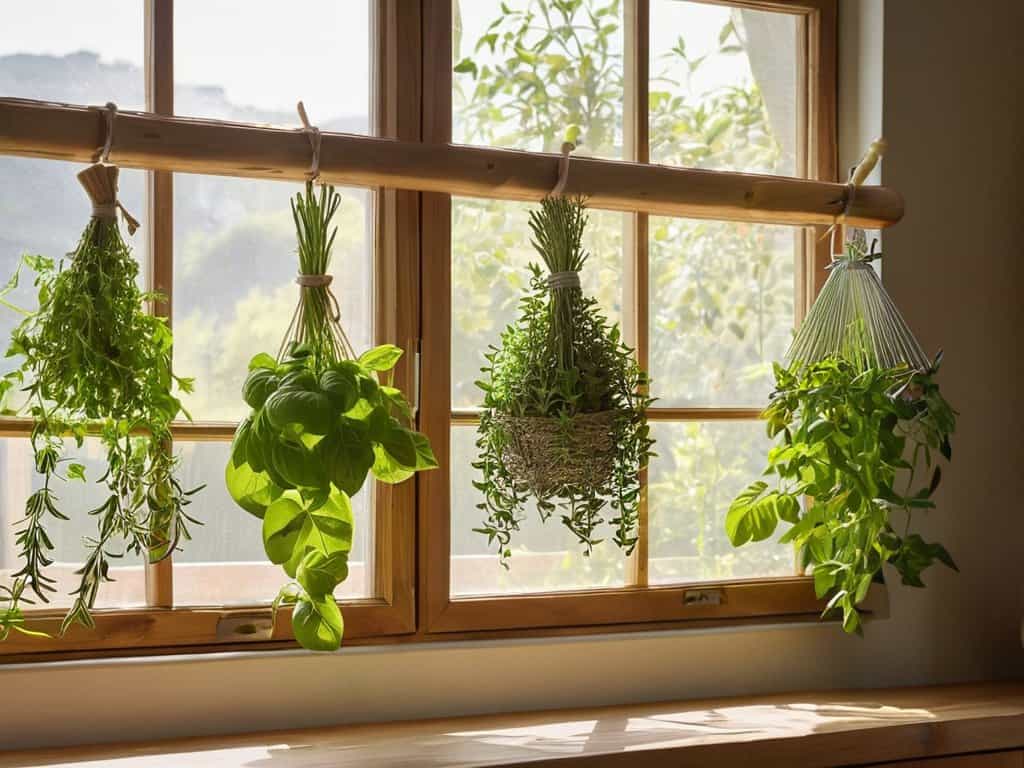
- 6. Finally, hang your DIY herb drying rack in a warm, dry place with good air circulation. I like to hang mine in my kitchen window, where it gets plenty of sunlight and warm air. Just make sure it’s out of direct sunlight, which can cause your herbs to lose their potency.
- 7. As your herbs dry, you can store them in airtight containers to preserve their flavor and aroma. I like to use little glass jars with tight-fitting lids, which keep my herbs fresh for months. Simply scoop out what you need and reseal the jar to keep the rest of your herbs fresh and flavorful.
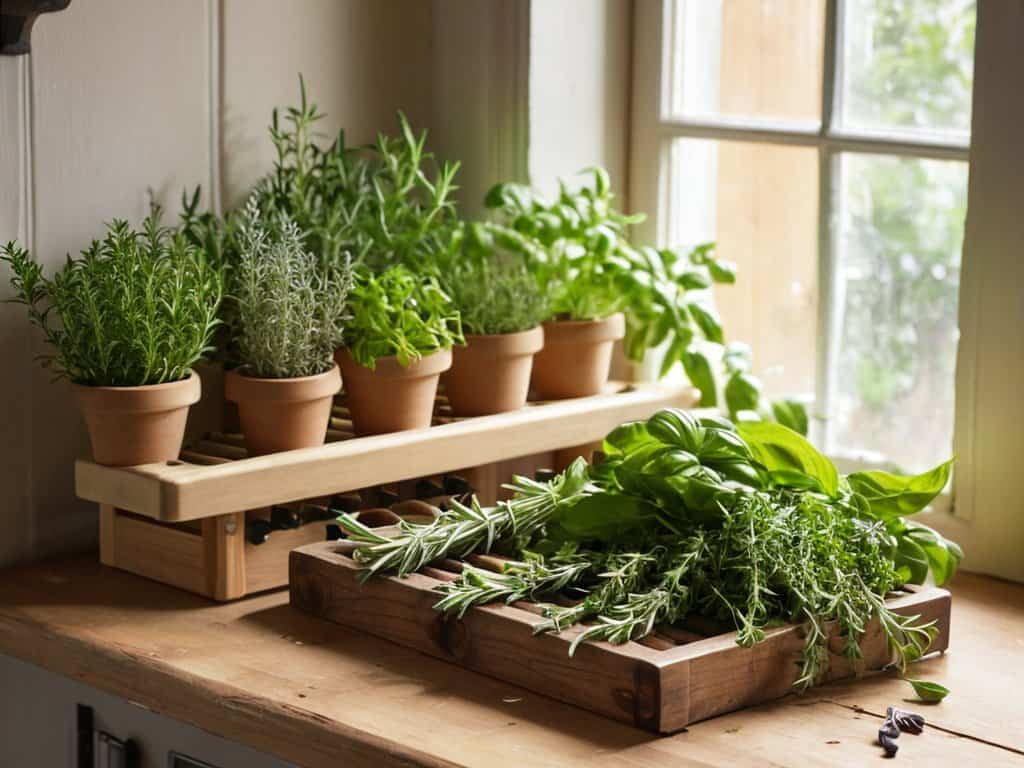
Diy Herb Drying Rack
When it comes to herb drying methods, there are a few things to keep in mind to get the best results. One of the most important is to dry your herbs quickly to preserve their flavor and aroma. This is where a well-ventilated area comes in handy, allowing air to circulate around the herbs and speed up the drying process. I’ve found that natural herb preservation techniques like air drying are not only effective but also easy to do at home.
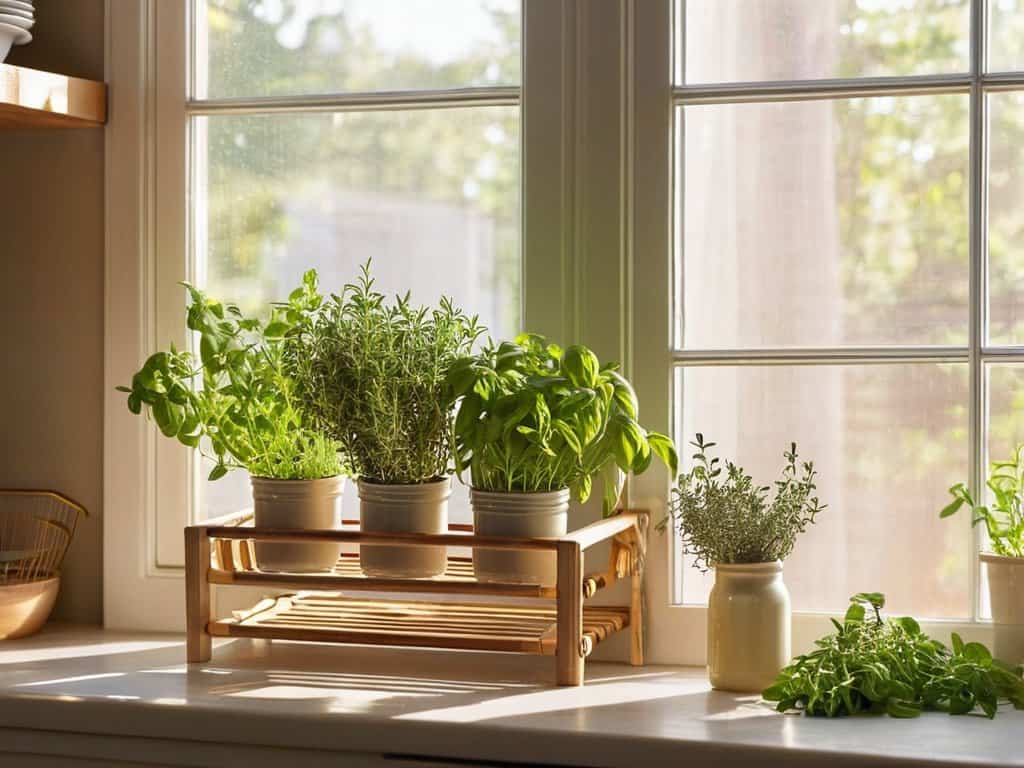
In addition to drying, it’s also important to consider space saving herb storage. Once your herbs are dry, you’ll want to store them in a way that keeps them fresh and organized. I like to use small glass jars or containers with tight-fitting lids to keep my dried herbs fresh. This also makes it easy to label and date each jar, so I can keep track of what I have and how long it’s been stored.
By following these tips and using your DIY drying rack, you’ll be well on your way to enjoying homemade herb infusions and other delicious creations all year round. Whether you’re a seasoned gardener or just starting out, indoor herb drying ideas can help you make the most of your harvest and enjoy the flavors of your favorite herbs whenever you want.
Herb Drying Methods Explained
When it comes to drying herbs, there are a few methods to choose from. Air drying is a popular option, as it’s simple and doesn’t require any special equipment. This involves tying the herbs in small bunches and hanging them upside down in a warm, dry place. Another method is desiccant drying, which uses a desiccant material like silica gel to absorb moisture from the herbs. This method is faster than air drying but can be more expensive.
I’ve found that using a DIY herb drying rack is a great way to air dry my herbs, as it allows for good air circulation and keeps the herbs organized and easy to access.
Space Saving Herb Storage Tips
To maximize storage, consider hanging your DIY herb drying rack on the back of a door or wall, keeping your countertops clutter-free. You can also store dried herbs in airtight containers, like mason jars or glass bottles, and label them for easy identification. This way, you can keep your herbs organized and within reach, while maintaining a tidy kitchen.
By implementing these space-saving tips, you’ll be able to enjoy your homegrown herbs year-round, even in small kitchens. Plus, the aesthetic appeal of your handmade drying rack and neatly stored herbs will add a touch of warmth and personality to your cooking space.
5 Essential Tips for Getting the Most Out of Your DIY Herb Drying Rack
- Dry herbs in small batches to ensure even air circulation and prevent mold growth
- Monitor the temperature and humidity levels in your drying area to optimize the drying process
- Use a variety of herbs in your DIY drying rack to create a colorful and fragrant display
- Consider adding a tray or tray liner to your DIY herb drying rack for easy cleaning and herb collection
- Experiment with different drying times and techniques to find the perfect level of dryness for your favorite herbs
Key Takeaways for Your DIY Herb Drying Rack
I can now easily preserve my favorite herbs year-round with a simple, homemade drying rack that takes up minimal space in my kitchen
By using a DIY herb drying rack, I’ve reduced waste and saved money on store-bought dried herbs, while also ensuring my herbs retain their flavor and aroma
With these space-saving herb storage tips and drying methods, I’ve elevated my cooking and can confidently experiment with new recipes, knowing I have a steady supply of fresh, dried herbs at my fingertips
The Power of Preservation
There’s something profoundly satisfying about watching your freshly harvested herbs transform into fragrant, flavorful staples, and a DIY herb drying rack is the key to unlocking that magic.
Emily Green
Conclusion
In conclusion, building a DIY herb drying rack is a simple and effective way to preserve your favorite herbs. By following the step-by-step instructions outlined in this guide, you can create a space-saving and efficient way to dry your herbs. We also explored the different herb drying methods and discussed some valuable space-saving tips for storing your dried herbs. Whether you’re a seasoned gardener or just starting out, a DIY herb drying rack is a great addition to any kitchen or garden.
As you hang your freshly harvested herbs to dry, remember that the process of preserving them is not just about saving their flavor and aroma, but also about celebrating the harvest. Take pride in your DIY project and enjoy the satisfaction of using your homegrown, dried herbs in your favorite recipes. With your new herb drying rack, you’ll be able to savor the flavors of your garden all year round and share them with friends and family.
Frequently Asked Questions
What are the best types of herbs to dry using a DIY herb drying rack?
I just love drying a variety of herbs, but my favorites are basil, rosemary, and thyme – they retain their flavor and aroma so well. I also like to dry oregano, sage, and mint for teas and cocktails. Really, any herb can be dried, but these are my top picks for taste and versatility.
Can I use a DIY herb drying rack to dry other plants like flowers or seeds?
Absolutely, my DIY herb drying rack isn’t just limited to herbs. I’ve used it to dry flowers for potpourri and even seeds for next year’s garden. Just be sure to adjust the drying time and temperature according to the plant’s needs. It’s a great way to preserve all sorts of botanicals and get the most out of your harvest.
How do I prevent mold or moisture from accumulating on my DIY herb drying rack?
To prevent mold or moisture from accumulating, make sure your DIY herb drying rack has good airflow – I added some extra space between the bars on mine. You can also try placing it near a window or using a small fan to gently circulate the air, keeping those pesky moisture particles at bay.