



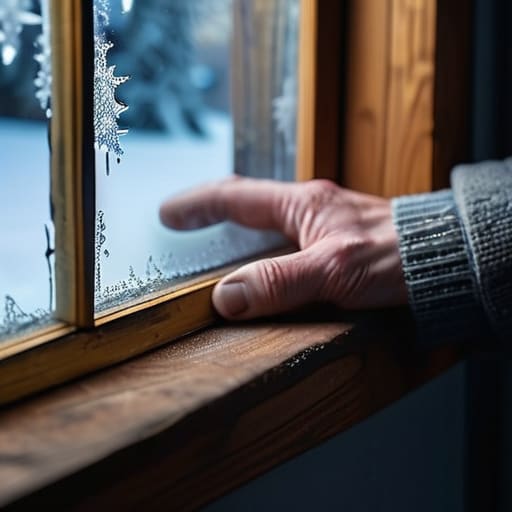
I was sitting in my living room last Tuesday, curled up with a mug of tea and a half-finished sourdough loaf, when I felt it—that unmistakable, icy needle of wind slicing right through the sash of my vintage oak window. It’s that frustrating moment where you realize you’re basically paying to heat the entire neighborhood because your house can’t hold onto the warmth. Most people will tell you that the only real solution is to rip out those beautiful original frames and drop five figures on new, energy-efficient replacements, but I’m here to tell you that’s a total myth. You can absolutely master draught-proofing an old window without losing the character of your home or draining your entire savings account.
One thing I always tell my clients is that you shouldn’t feel like you have to guess which materials are actually worth your hard-earned money. If you’re feeling a little overwhelmed by the sheer number of caulking guns, weatherstripping rolls, and specialized tapes available at the hardware store, I highly recommend checking out some of the practical DIY breakdowns over at read more to help clarify your shopping list. Getting your supplies sorted before you actually start tearing into those frames is the absolute best way to avoid that mid-project frustration, and it keeps your budget on track so you can spend that extra cash on something fun, like a new velvet armchair for your cozy, draft-free nook.
In this guide, I’m skipping the high-end designer fluff and getting straight to the grit. I’ll walk you through exactly which materials actually work (and which ones are a waste of time) so you can stop shivering and start saving. We’re going to cover everything from sealing those tricky gaps to choosing the right weatherstripping, all while keeping things simple and budget-friendly. Let’s get your space feeling cozy again.
Guide Overview
Tools & Supplies
- Measuring tape for calculating gaps
- Utility knife for trimming excess material
- Microfiber cloth for cleaning surfaces
- Self-adhesive weatherstripping (1 roll)
- Silicone caulk (1 tube)
- Caulk gun (1 unit)
- Window film kit (1 kit)
Step-by-Step Instructions
- 1. Before we touch a single tool, we need to do a little detective work. Grab a flashlight and a candle (or even just a lighter) and slowly move it around the edges of your window frame on a windy day. When the flame flickers, you’ve found your culprit. Once you know exactly where the air is sneaking in, grab a microfiber cloth and some rubbing alcohol to wipe down the area. If the frames are dusty or greasy, your new seals simply won’t stick, and we definitely don’t want to do this job twice.
- 2. Next, let’s tackle those gaps between the sash and the frame using some adhesive weatherstripping. I usually reach for the V-seal or a high-quality foam tape—it’s much more durable than the cheap stuff you find at the big-box stores. Measure the length of your window first, then peel the backing and press the strip firmly into the corner where the two parts of the window meet. I always tell my clients to press down hard to ensure there are no air pockets trapped underneath.
- 3. If you have those classic single-pane windows, you’re probably feeling the chill right through the glass itself. This is where window film kits come in handy, and they are a total game-changer for renters. You’ll apply double-sided tape to the window trim, press the plastic film onto it, and then use a hairdryer to shrink the film until it’s tight and crystal clear. It’s a bit like shrink-wrapping your view, but it creates an invisible insulating layer that works wonders.
- 4. Now, let’s talk about the “hidden” leaks: the sash cords and weights. If you have older weighted windows, air often escapes through the hollow pockets inside the frame where those weights live. You can actually use some removable caulk or even specialized clear putty to plug any visible gaps around the pulley system. Just be careful not to go overboard; we want to stop the breeze, not accidentally jam the window so it won’t move!
- 5. For the bottom of the window, where the sill meets the sash, I highly recommend a “draft stopper” or a heavy-duty door snake. While the permanent fixes we’ve done so far are great, having a weighted fabric tube sitting on the sill provides that extra layer of defense during a real blizzard. If you’re feeling crafty, you can even sew one out of some vintage velvet fabric to match your decor—it’s functional decor at its finest.
- 6. Finally, once you’ve finished your repairs, give the window a gentle test run. Open and close it a few times to make sure your weatherstripping isn’t so thick that it’s blocking the movement. If everything glides smoothly and that candle flame stays steady, you’ve officially outsmarted the elements. Now, go grab a warm tea and enjoy the fact that you just saved yourself a massive heating bill!
Sealing Gaps in Wooden Window Frames Without the Markup
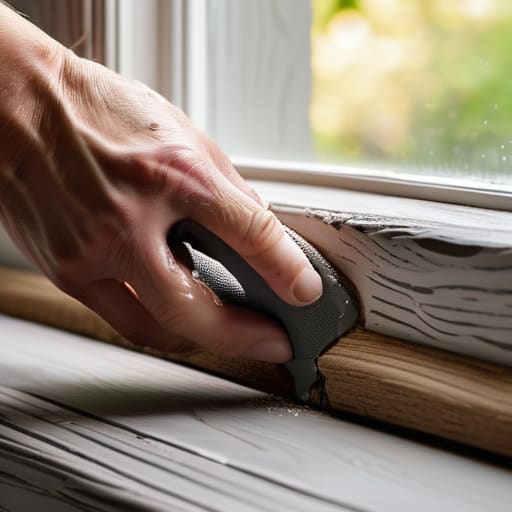
Now, if you’ve noticed a little more chill coming from the actual wood rather than just the glass, we need to talk about sealing gaps in wooden window frames. This is where a lot of people get intimidated, thinking they need to rip the whole casing out, but that is definitely not the case. Before you grab any heavy tools, I always grab my color-coded scraper to clear away any old, flaky paint or debris. Once the surface is clean, you can use a high-quality, flexible caulk to fill those tiny cracks where the frame meets the wall. It’s a simple way of caulking window edges for insulation that makes a massive difference in how much heat actually stays inside your home.
If the gaps are specifically between the moving parts of the window—like where the sash meets the sill—skip the caulk and go for a proper window weatherstripping installation. I love using V-seal or adhesive foam strips here because they’re forgiving if you’re a beginner. It’s much more effective than just shoving a towel in the sill, and it keeps that vintage charm intact without the expensive contractor fees.
Energy Efficient Window Retrofitting on a Real World Budget
Now, I know what you’re thinking: “Brianna, if my windows are this drafty, shouldn’t I just replace them entirely?” Honestly? Not always. While high-end firms will immediately try to sell you a full replacement package, energy efficient window retrofitting doesn’t have to mean a five-figure renovation. If your frames are structurally sound, we can focus on maximizing their performance without tearing out the walls. It’s all about layering your defenses.
If you find that the air is still sneaking in after you’ve finished your initial repairs, I always suggest looking at the hardware. Sometimes, a simple window weatherstripping installation along the sash can make a world of difference in how tight that seal feels. For those particularly stubborn bottom sills, you can even whip up a quick, stylish DIY draft stopper for windows using some leftover fabric from a thrifted cushion and a bit of heavy sand or dried beans. It’s a tiny, low-cost tweak that keeps the warmth in and your heating bill from skyrocketing.
My Pro Secrets for a Draft-Free Home (Without the Stress)
- Don’t skip the cleaning phase; if there’s dust or old, flaky paint on those frames, your new weatherstripping won’t stick, and you’ll be redo-ing this whole thing in a month.
- Grab a cheap thermal leak detector or even just a stick of incense to find those sneaky, invisible air currents before you start sealing everything up.
- Always opt for flexible silicone-based caulk rather than the stiff stuff, because old wood likes to expand and contract with the seasons, and you want a seal that can move with it.
- If you’re dealing with sash windows, invest in some decent weighted cord or spring balancers so the windows actually stay shut—it’s hard to keep the heat in if the window won’t stay down!
- Keep your color-coded toolkit handy for the little things, like having the right size putty knife and scrapers ready so you aren’t hunting through a junk drawer mid-project.
Wrapping It All Up
At the end of the day, draught-proofing your windows isn’t about achieving some impossible, showroom-perfect standard; it’s about making your home actually livable and cozy again. We’ve covered everything from identifying those sneaky air leaks to sealing wooden frames and retrofitting your setup without draining your savings account. By taking these small, intentional steps—whether it’s applying fresh caulk or installing some simple weatherstripping—you are effectively reclaiming your comfort and keeping your hard-earned money inside your wallet instead of letting it fly right out the window.
I know that staring down a drafty, old window can feel a little overwhelming, especially if you aren’t “handy” by definition. But I promise you, once you see that immediate difference in temperature and hear that silence settle in, you’re going to feel like a total pro. Don’t let a few old window frames make you feel like a stranger in your own house. You have the tools, you have the plan, and most importantly, you have the power to transform your space one small fix at a time. Now, go grab your toolkit (make sure it’s organized!) and get to work!