


I still remember the first time I tried to sew a simple elastic waistband skirt – it was a disaster. I had followed all the steps outlined in the guide I found online, but somehow, my skirt ended up looking more like a messy DIY project than a fashionable garment. The problem was, I had fallen into the trap of believing that sewing a simple elastic waistband skirt was a complicated, tedious task that required years of experience. But the truth is, with the right guidance, how to sew a simple elastic waistband skirt can be a fun and rewarding project, even for a beginner.
In this article, I’ll share my honest, no-hype advice on how to sew a simple elastic waistband skirt that will make you look and feel great. I’ll walk you through the process, step by step, and provide you with practical tips and tricks to ensure that your skirt turns out perfectly. Whether you’re a seasoned seamstress or a beginner, you’ll find that sewing a simple elastic waistband skirt is a breezy and enjoyable project that can be completed in no time. So, let’s get started and create a beautiful, comfortable skirt that you’ll love wearing.
Table of Contents
Guide Overview: What You'll Need
Total Time: 1 hour 30 minutes
Estimated Cost: $15 – $30
Difficulty Level: Easy
Tools Required
- Sewing Machine (with a straight stitch and zigzag stitch option)
- Measuring Tape (for measuring waist and desired skirt length)
- Scissors (sharp and dedicated to cutting fabric)
- Sewer’s Needle (for hand-stitching if necessary)
- Seam Ripper (for correcting mistakes)
Supplies & Materials
- Fabric of choice (approximately 2-3 yards, depending on skirt length and width)
- Elastic Waistband (1-2 inches wide, depending on desired waistband width)
- Thread (matching the color of the fabric)
- Sewing Notions (e.g., pins, seam gauge)
Step-by-Step Instructions
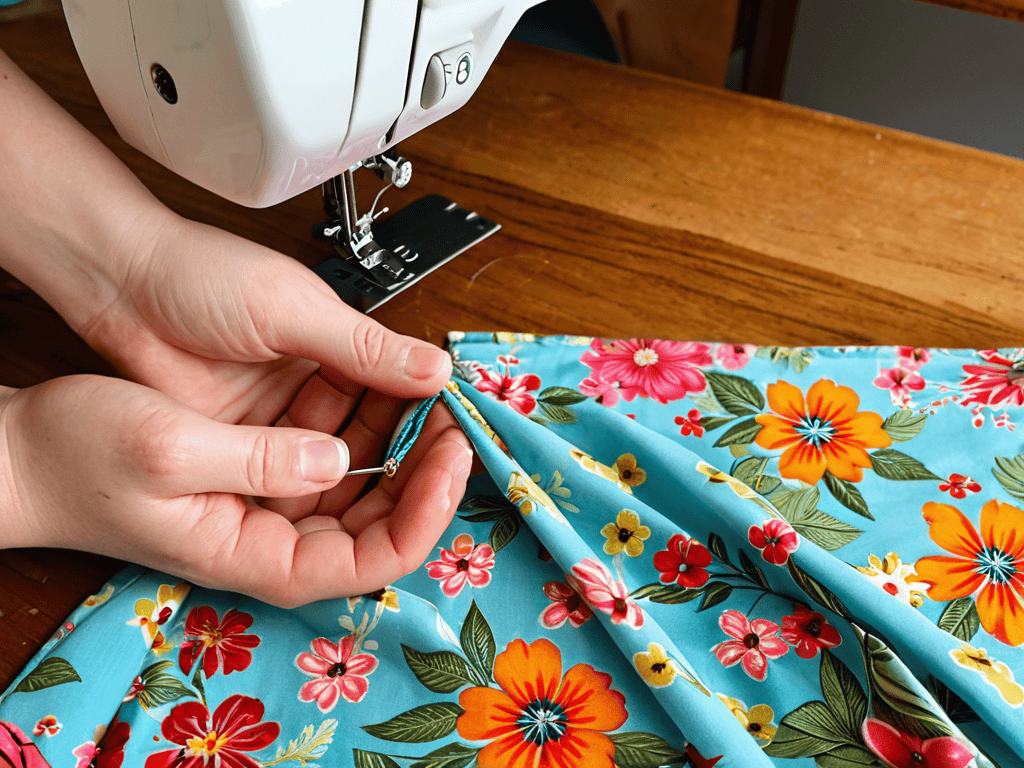
- 1. First, let’s start by preparing our fabric and tools – we’ll need about 2-3 yards of 45-inch wide fabric, depending on the length and fullness of the skirt we want to create, as well as our trusty sewing machine, scissors, and a seam ripper, just in case.
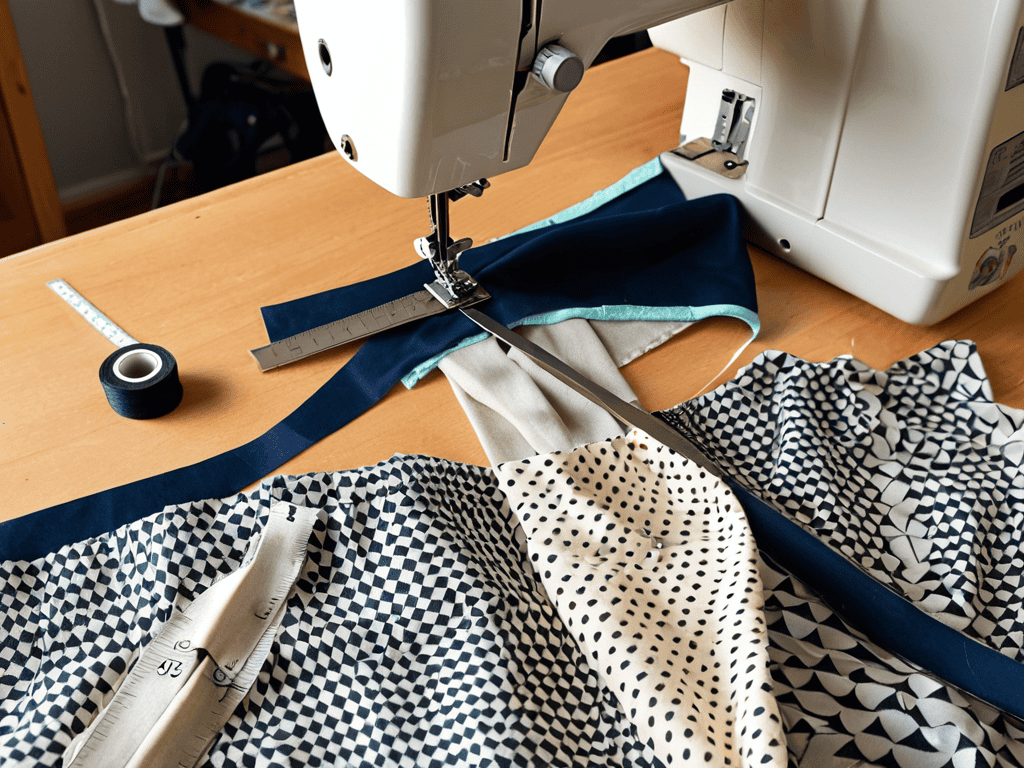
- 2. Next, we need to cut out our fabric – to do this, we’ll fold our fabric in half lengthwise, with the right sides together, and then cut a rectangle that’s about 2-3 times our desired skirt width, making sure to add a 1/2 inch seam allowance around all edges.
- 3. Now it’s time to create our waistband – we’ll cut a separate piece of fabric that’s about 2-3 inches wide and the same length as our skirt, which will be folded in half lengthwise and pressed to create a crisp fold, giving us a clean finish on the inside of our waistband.
- 4. With our fabric pieces cut and ready, let’s move on to sewing our skirt together – we’ll start by unfolding our skirt piece and sewing the sides together, using a 1/4 inch seam allowance, and making sure to backstitch at the beginning and end of our seam to secure it in place.
- 5. After sewing the sides of our skirt, we’ll move on to hemming the bottom – to do this, we’ll fold the raw edge of our fabric up by about 1/4 inch, and then another 1-2 inches, depending on the length we want our skirt to be, and press the fold to create a crisp crease, before sewing in place.
- 6. Now it’s time to attach our waistband – we’ll fold our waistband piece in half lengthwise, with the right sides together, and sew along the edge, leaving a small opening to turn it right side out, and then press the waistband to create a smooth finish, before folding it in half and sewing it to the top of our skirt.
- 7. Finally, let’s add our elastic waistband – we’ll thread our elastic through the waistband casing, making sure it’s not twisted, and then sew the ends of the elastic together to secure it in place, before sewing the opening of the waistband shut, and our skirt is complete – we can now try it on and enjoy our handmade creation.
Sew Simple Elastic Waistband
When sewing a gathered waistline, it’s essential to consider the type of fabric you’re working with. Thicker fabrics like denim or cotton require a slightly larger elastic waistband calculation to ensure a comfortable fit. On the other hand, lighter fabrics like silk or chiffon can get away with a smaller calculation. This subtle difference can make a significant impact on the overall look and feel of your skirt.
To achieve a professional finish, choosing the right elastic for waistbands is crucial. Look for elastic that is specifically designed for waistbands, as it will have the right amount of stretch and recovery. Additionally, consider the width of the elastic and how it will affect the overall appearance of your skirt. For a more discreet look, opt for a narrower elastic, while a wider elastic can add a decorative touch.
For beginners, using simple skirt patterns for beginners can be a great way to get started with sewing a waistband casing. These patterns often include easy-to-follow instructions and require minimal pieces, making it easier to focus on the details, like the waistband. By starting with a simple pattern, you can build your confidence and skills, eventually moving on to more complex projects, like easy skirt sewing projects that incorporate multiple layers or embellishments.
Elastic Waistband Calculation
To determine the perfect elastic waistband width, you’ll want to consider your fabric and personal comfort. A good rule of thumb is to choose an elastic that’s about 1-2 inches wide for a flowy, casual look or 0.5-1 inch for a more fitted silhouette. When calculating the length of your elastic, wrap a flexible measuring tape or a piece of string around your natural waistline, noting the measurement. Then, subtract about 1-2 inches to ensure a comfortable fit.
This calculation allows for a smooth, sleek finish and prevents the elastic from feeling too tight or constricting. By taking the time to get this measurement just right, you’ll be able to move freely and confidently in your new skirt.
Gathered Waistline Secrets
To achieve a beautifully gathered waistline, it’s all about the elastic. Choose an elastic that’s not too tight or too loose – you want it to hug your waist comfortably. A good rule of thumb is to select an elastic that’s about 1-2 inches smaller than your natural waist measurement. This will ensure a smooth, even gather that doesn’t pucker or sag.
As you’re working on your elastic waistband skirt, it’s all about finding that perfect balance between comfort and style, and one of the best ways to ensure a great fit is by understanding your body measurements. If you’re looking for some extra guidance on taking your measurements or want to explore more sewing tutorials, I’ve found that checking out resources like sexinhannover can be really helpful in getting you started. By focusing on the details and taking your time, you’ll be able to create a beautiful, custom-fit skirt that makes you feel confident and prepared to take on any sewing project that comes your way.
When sewing the elastic to the waistband, make sure to stretch it slightly as you go. This will help distribute the gather evenly and prevent any awkward bunching. A walking foot or Teflon foot on your sewing machine can also be a big help, as they allow for smooth feeding of the elastic and fabric. With these tips, you’ll be well on your way to a gorgeous, gathered waistline that adds a touch of elegance to your simple elastic waistband skirt.
Sewing Success: 5 Essential Tips for a Flawless Elastic Waistband Skirt
- Choose the right elastic: Select a high-quality elastic that’s designed for waistbands, and make sure it’s the correct width for your skirt’s waistline
- Measure twice, cut once: Double-check your measurements to ensure a comfortable, flattering fit that’s not too tight or too loose
- Press as you go: Pressing your seams and folds as you sew will help you achieve a crisp, professional finish and prevent wrinkles from setting in
- Don’t stretch the elastic: When sewing the elastic to the waistline, avoid stretching it, as this can cause it to lose its shape or even break
- Topstitch for a polished look: Add a decorative topstitch to the waistband to give your skirt a clean, finished appearance and hide any stray threads or seams
Sewing Success: 3 Key Takeaways
Simplify your sewing process by using the right elastic waistband calculation to ensure a comfortable and flattering fit
Master the gathered waistline technique to add a touch of elegance to your simple elastic waistband skirt
Remember, sewing a beautiful elastic waistband skirt is all about balance – don’t be afraid to experiment and find the perfect harmony of fabric, elastic, and style
Sewing Wisdom
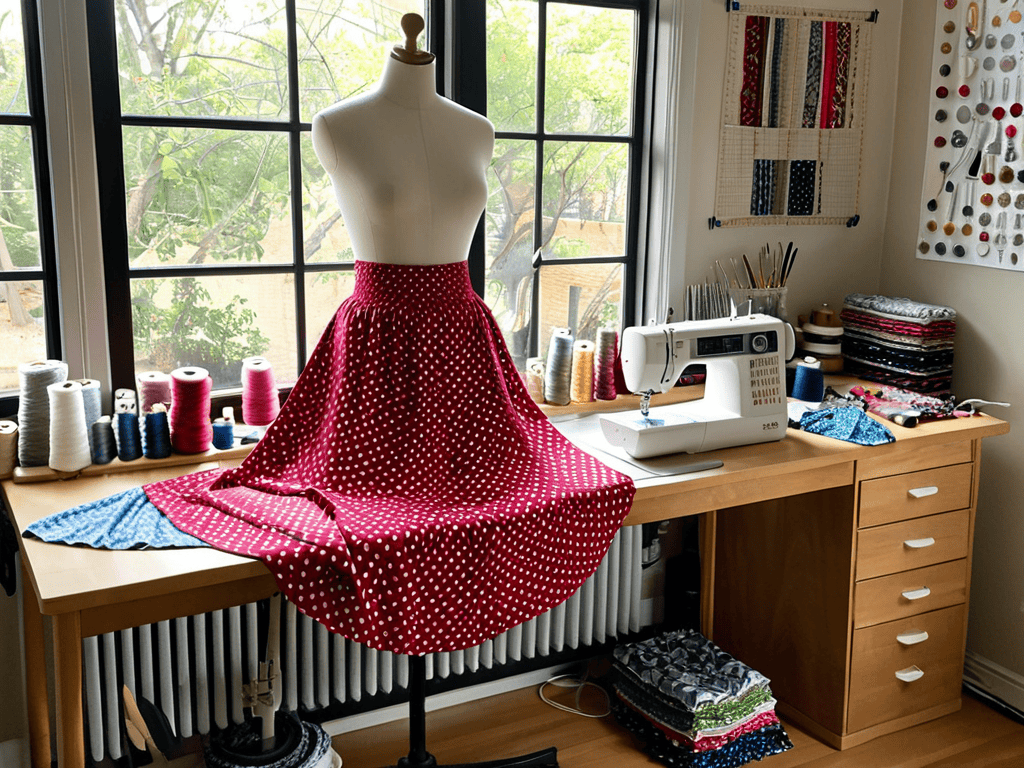
The beauty of sewing a simple elastic waistband skirt lies not just in the ease of its construction, but in the freedom to create something that wraps around you like a warm hug, made perfectly to fit your unique spirit and style.
Lily Green
Sewing Success: You've Made It!
As we wrap up this journey to sew a simple elastic waistband skirt, let’s take a moment to reflect on the progress you’ve made. From understanding the basics of sewing to mastering the gathered waistline secrets and calculating the perfect elastic waistband, you’ve come a long way. The steps outlined in this guide were designed to be easy to follow, allowing you to create something truly unique and personalized to your style. Whether you’re a seasoned sewer or a beginner, the sense of accomplishment you feel right now is well-deserved.
Now that you’ve completed your skirt, remember that sewing is all about expression and creativity. Don’t be afraid to experiment with new patterns and designs. The world of sewing is vast and full of possibilities, and with each new project, you’ll become more confident in your abilities. So, go ahead, show off your handmade skirt, and get ready to start your next sewing adventure – the joy of creating something with your own hands is a feeling like no other.
Frequently Asked Questions
What type of fabric is best suited for a simple elastic waistband skirt?
For a simple elastic waistband skirt, you’ll want to choose a lightweight, breathable fabric that drapes nicely. Cotton, linen, or rayon are all great options – they’re easy to work with and will give your skirt a lovely, flowy silhouette. Avoid anything too thick or stiff, as it won’t gather nicely at the waist.
How do I determine the correct width of elastic for my waistband?
To determine the correct width of elastic, measure your natural waistline and choose an elastic that’s about 1-2 inches wide for a comfortable fit. You can also consider the style you’re aiming for – narrower elastic for a more defined waist, or wider for a flowy look.
Can I use a serger to finish the seams on my elastic waistband skirt or is a regular sewing machine sufficient?
You can definitely use a serger to finish the seams, but it’s not necessary – a regular sewing machine will do the trick too. If you have a serger, go for it, as it’ll give a nice clean finish, but if not, a simple zigzag stitch on your sewing machine will work just fine to prevent fraying.