


I still remember the day I decided to take on the Induction Cooktop DIY project – it was a mix of excitement and terror. I had heard all sorts of horror stories about how complicated and expensive it could be, but I was determined to prove them wrong. As it turns out, most of what I had heard was just that – stories. The truth is, with the right guidance, Induction Cooktop DIY can be a fun and rewarding experience that saves you a pretty penny.
So, what can you expect from this article? I’ll be sharing my personal experience and no-nonsense advice on how to successfully complete an Induction Cooktop DIY project. I’ll walk you through the entire process, from preparation to completion, and provide you with practical tips and tricks to make the journey as smooth as possible. My goal is to empower you with the knowledge and confidence to take on this project and enjoy the benefits of your new induction cooktop. Whether you’re a seasoned DIY enthusiast or a beginner, this article will provide you with the honest and straightforward guidance you need to get the job done.
Table of Contents
Project Overview
Total Time: 3 hours 45 minutes
As you’re working on your induction cooktop DIY project, it’s essential to have a solid support system in place, and that’s not just about having the right tools. Sometimes, taking a break and clearing your mind can be just as crucial as any troubleshooting tip. If you’re in Melbourne, you might want to take some time to explore the city, meet new people, and who knows, maybe even find some casual encounters that can help you unwind – you can find some great resources for that at casual encounters melbourne, which can be a fantastic way to connect with like-minded individuals and gain a fresh perspective on your project.
Estimated Cost: $150 – $300
Difficulty Level: Intermediate
Tools Required
- Drill Press ((for precise drilling))
- Jigsaw ((for cutting curves))
- Soldering Iron ((for electronics work))
- Wire Strippers ((for stripping electrical wires))
- Pliers ((for gripping small objects))
- Screwdrivers ((both flathead and Phillips))
Supplies & Materials
- Induction Cooktop Component Kit ((including coil, capacitor, and wiring))
- Ceramic Glass Cut to Size ((approximately 30 inches x 20 inches))
- Heat-Resistant Adhesive ((for bonding ceramic glass to base))
- Electrical Wire ((rated for high temperatures))
- Thermal Insulation ((for reducing heat loss))
- Aluminum or Steel Base ((approximately 32 inches x 22 inches x 0.25 inches thick))
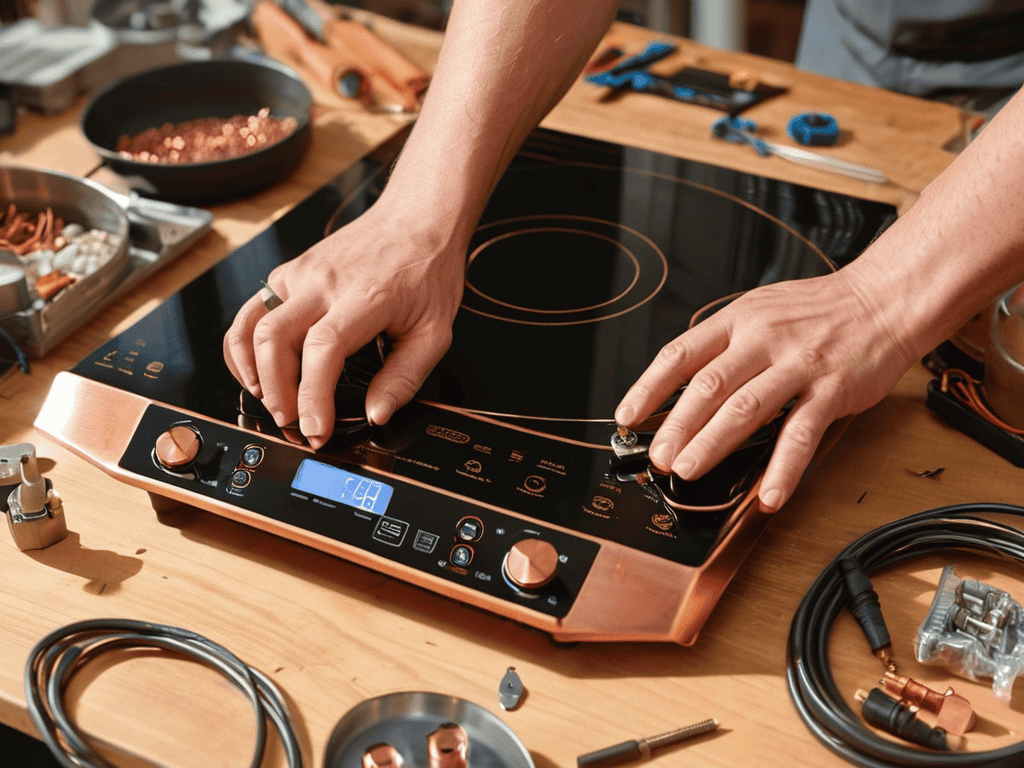
Step-by-Step Instructions
- 1. First, gather all the necessary tools and materials, including the induction cooktop unit, a screwdriver, pliers, a wrench, and any additional hardware provided with the cooktop, such as mounting brackets or screws. Make sure you have a clear and stable workspace to avoid any accidents or damage to the components.
- 2. Next, shut off the power supply to the area where you’ll be working, as you’ll be dealing with electrical connections. Verify that the power is off using a voltage tester to ensure your safety while working with the wiring and connections.
- 3. Now, carefully remove the old cooktop or cover, if you’re replacing an existing one, by unscrewing the mounting clips or screws that hold it in place. Be gentle to avoid damaging the surrounding countertop or any plumbing fixtures nearby.
- 4. With the area cleared, inspect and prepare the surface for the new induction cooktop. Ensure it’s level, clean, and dry. If your countertop has any unevenness or old adhesive, now is the time to address these issues to guarantee a secure and even installation.
- 5. The next step involves connecting the electrical supply to the induction cooktop. This usually requires attaching the provided power cord to a suitable electrical outlet or, in some cases, hardwiring it directly to your home’s electrical system. Always follow the manufacturer’s instructions and consider consulting a licensed electrician if you’re unsure about any part of this process.
- 6. After the electrical connections are made, mount the induction cooktop to the countertop using the provided hardware. Ensure all screws or clips are securely tightened to prevent the cooktop from shifting during use. It’s also a good idea to double-check the manufacturer’s guidelines for specific mounting requirements.
- 7. Once the cooktop is securely in place, test the induction cooktop to make sure it’s working properly. Place a compatible pot or pan on the cooktop and turn it on. Listen for the usual humming noise and verify that the cookware is heating evenly. This step is crucial for identifying any potential issues with the installation or the cooktop itself.
Induction Cooktop Diy
As you work on your induction cooktop installation, keep in mind that the cost can vary greatly depending on the materials and tools you choose. To save money, consider opting for a diy electrical cooktop conversion instead of hiring a professional. This will not only reduce the overall induction cooktop installation cost, but also give you a sense of accomplishment and pride in your work.
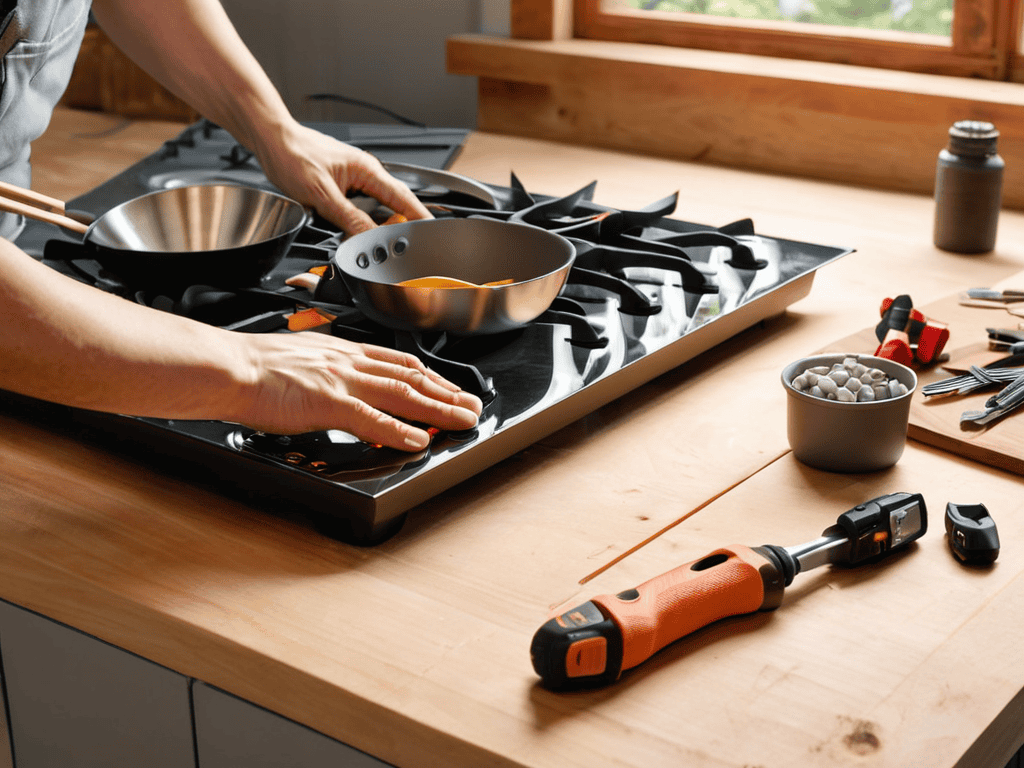
When it comes to cooking with your new induction cooktop, it’s essential to use induction compatible cookware to ensure safe and efficient performance. Look for pots and pans made from ferromagnetic materials, such as cast iron or stainless steel, as these will work best with your new cooktop. Additionally, be sure to follow all safety precautions for induction cooktops to avoid any accidents or injuries.
In the event that you encounter any issues with your induction cooktop, don’t panic! Induction cooktop troubleshooting is relatively straightforward, and most problems can be resolved with a simple reset or adjustment. If you’re unsure about any aspect of the installation or maintenance process, be sure to consult your user manual or contact a professional for guidance. By taking the time to properly install and maintain your kitchen counter induction cooktop, you’ll be able to enjoy safe and efficient cooking for years to come.
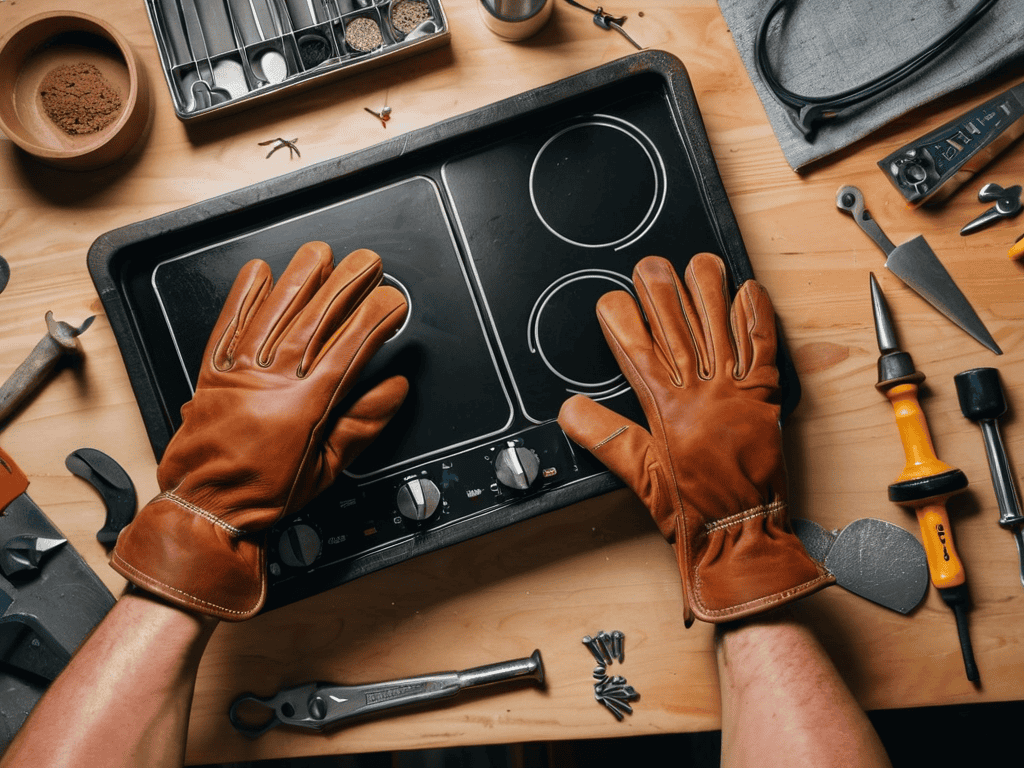
Safety First Troubleshooting Tips
When it comes to DIY induction cooktop installation, safety should always be top of mind. One common issue you might encounter is an uneven cooktop surface, which can lead to poor heat distribution and potentially cause accidents. To troubleshoot this, double-check that your cooktop is properly aligned and secured to the countertop.
Another potential hazard is electrical shock, often caused by faulty wiring or improper connections. If you notice any sparks, flickering lights, or unusual sounds, shut off the power supply immediately and consult a licensed electrician to resolve the issue. Remember, it’s always better to err on the side of caution when working with electricity.
Spark to Finish Installation Cost Secrets
When it comes to the cost of installing an induction cooktop, there are a few secrets to keep in mind. First, the cost of the cooktop itself can vary greatly depending on the brand and model. However, it’s the additional costs that can really add up – things like new wiring, a dedicated circuit, and any necessary upgrades to your electrical panel.
To save some cash, consider shopping around for the cooktop and looking for deals or discounts. You can also try to do some of the prep work yourself, like moving appliances or clearing out the area where the cooktop will be installed.
Hammering Out the Details: 5 Essential Induction Cooktop DIY Tips
- Measure Twice, Cut Once: Double-Check Your Countertop Cutout to Ensure a Seamless Fit
- Electrical Essentials: Verify Your Home’s Electrical Capacity to Handle the Induction Cooktop’s Power Requirements
- Surface Savvy: Choose the Right Cooktop Surface Material to Match Your Kitchen’s Style and Durability Needs
- Wiring Wisdom: Familiarize Yourself with Local Electrical Codes and Regulations to Avoid Costly Mistakes
- Test Drive: Before Finalizing the Installation, Conduct a Trial Run to Ensure Your Induction Cooktop is Functioning Flawlessly
Key Takeaways for a Successful Induction Cooktop DIY
By following the step-by-step guide and considering the installation costs, you can save money and enjoy the satisfaction of building your own induction cooktop
Troubleshooting tips and safety precautions are crucial to a successful DIY project, helping you avoid common pitfalls and ensure a smooth cooking experience
With the right mindset and guidance, installing an induction cooktop can be a fun and rewarding DIY adventure, allowing you to upgrade your kitchen with a modern and efficient cooking solution
Embracing the DIY Spirit
The thrill of building your own induction cooktop isn’t just about saving money, it’s about igniting a sense of pride and ownership in your kitchen, where every spark and every finish is a testament to your own two hands.
A DIY Enthusiast
Conclusion
As we wrap up this induction cooktop DIY journey, it’s essential to recap the key points that will make your project a success. From understanding the installation costs to troubleshooting common issues, we’ve covered it all. Remember, the safety first approach is crucial when working with electrical appliances, and being prepared will save you time and money in the long run. By following the steps outlined in this guide, you’ll be well on your way to enjoying the benefits of your new induction cooktop.
So, what’s the final spark that will ignite your passion for DIY projects? It’s the sense of accomplishment and pride in knowing you built something with your own hands. As you complete your induction cooktop installation, remember that this is just the beginning of your DIY journey. Don’t be afraid to experiment and try new things – you never know what amazing projects you’ll discover, and the skills you’ve learned here will serve as a solid foundation for your future endeavors.
Frequently Asked Questions
What are the most common mistakes to avoid when installing an induction cooktop DIY?
When installing an induction cooktop DIY, watch out for faulty wiring, incorrect cooktop sizing, and poor ventilation. These common mistakes can lead to safety hazards, inefficient performance, or even render your cooktop useless. Double-check your measurements and connections to avoid these costly errors.
How do I ensure my electrical system can handle the power requirements of an induction cooktop?
To ensure your electrical system can handle the power requirements, check your cooktop’s specs and compare them to your home’s electrical capacity. You’ll want to verify that your wiring and circuit breakers can handle the increased load, usually 20-50 amps, depending on the model. It’s also a good idea to consult with a licensed electrician if you’re unsure.
What are some tips for troubleshooting common issues with a newly installed induction cooktop?
If you’re running into issues with your new induction cooktop, don’t sweat it! Check that your cookware is compatible and properly placed, and ensure the cooktop is clean and dry. Also, verify that the cooktop is properly installed and plugged in – it’s often the simple things that trip us up.