

I still remember the first time I tried Making Soy Candles – it was a disaster. I had envisioned a peaceful, creative process, but what I got was a messy, frustrating experience that left me wondering if I was cut out for this whole DIY thing. The problem was, I had fallen for the common myth that making soy candles is a complicated, expensive process that requires a lot of special equipment. But the truth is, making soy candles can be a fun, easy, and rewarding experience, as long as you have the right guidance.
In this article, I’ll share my personal experience and expertise to guide you through the process of making soy candles. You’ll learn the essential steps and practical tips you need to create your own beautiful, unique soy candles. From choosing the right materials to troubleshooting common problems, I’ll give you the honest, no-hype advice you need to succeed. Whether you’re a seasoned crafter or a beginner, this article will walk you through the process of making soy candles with ease, so you can enjoy the warmth and ambiance of your own handmade creations.
Table of Contents
- Project Overview
- Step-by-Step Instructions
- Making Soy Candles
- Candle Making Temperature Control the Secret to Perfection
- Soy Wax Flakes vs Granules the Great Debate
- Soy Candle Mastery: 5 Essential Tips to Get You Started
- Key Takeaways for a Successful Soy Candle Making Experience
- A Spark of Creativity
- Conclusion
- Frequently Asked Questions
Project Overview
Total Time: 2 hours 30 minutes
Estimated Cost: $20 – $40
Difficulty Level: Intermediate
Tools Required
- Double Boiler ((or a heat-proof glass bowl set over a pot of simmering water))
- Thermometer ((for monitoring temperature))
- Colorant ((optional, for colored candles))
- Fragrance Oils ((optional, for scented candles))
- Rubber Spatula ((for stirring))
- Wick Trimmer ((for trimming the wick to 1/4 inch))
- Melting Pot ((dedicated to soy wax only))
Supplies & Materials
- Soy Wax Flakes ((available in various weights, e.g., 1 pound or 5 pounds))
- Cotton Wick ((specifically designed for soy wax candles, various sizes available))
- Melting Pot ((dedicated to soy wax only))
- Glass Jar ((or a silicone mold, for shaping the candle, approximately 3 inches in diameter and 6 inches in height))
Step-by-Step Instructions
- 1. First, let’s start by gathering our materials, which include soy wax flakes, a candle mold, a melting pot, a thermometer, and a wick. Make sure you have a well-ventilated workspace and a heat-resistant surface to work on. It’s also important to have a pair of gloves and a pair of goggles to protect yourself from any potential spills or splashes.
- 2. Next, we need to prepare the mold by making sure it’s clean and dry. If you’re using a silicone mold, you can lightly spray it with cooking spray to ensure the candle will release easily once it’s set. If you’re using a glass or metal mold, you can apply a thin layer of vaseline to achieve the same effect.
- 3. Now it’s time to melt the wax, which is arguably the most crucial step in the candle-making process. Place the soy wax flakes in the melting pot and heat it until the wax reaches a temperature of around 120-140°F. Stir occasionally to ensure even melting, and be careful not to overheat the wax, as this can cause it to become discolored or develop an unpleasant odor.
- 4. Once the wax is fully melted, it’s time to add the fragrance. Use a high-quality fragrance oil that’s specifically designed for candle-making, and follow the recommended usage guidelines to ensure the scent is not too overpowering. Stir well to combine, and then let the mixture cool slightly to around 100-110°F.
- 5. Now it’s time to add the wick, which will serve as the foundation for our candle. Carefully dip the wick into the melted wax and coat it evenly, then place it into the center of the mold. Make sure the wick is straight and centered, as this will affect the overall burn quality of the candle.
- 6. Next, we need to pour the wax mixture into the mold, making sure to fill it to the top. Use a spatula or spoon to remove any air bubbles that may form, and then let the wax cool and solidify completely. This can take several hours, depending on the size of the candle, so be patient and let it set.
- 7. Finally, once the wax is fully set, it’s time to remove the candle from the mold. If you’re using a silicone mold, you can simply flex the mold to release the candle. If you’re using a glass or metal mold, you can run a knife or spatula around the edge of the candle to loosen it, then carefully lift it out. Trim the wick to the desired length, and your soy candle is now ready to use.
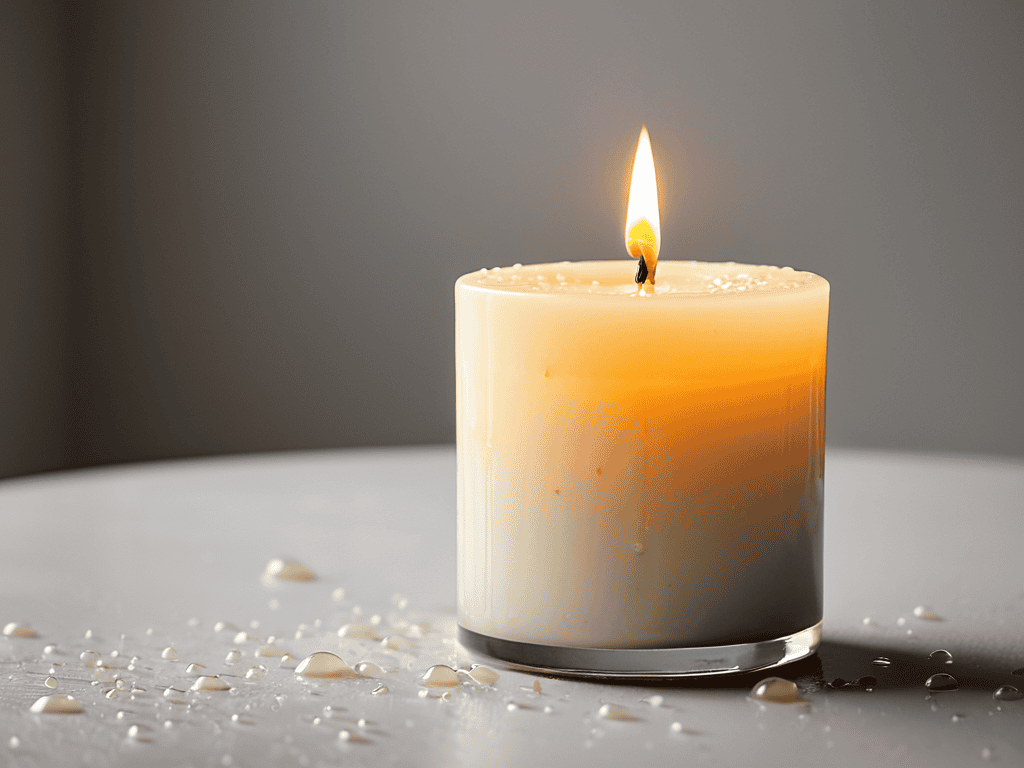
Making Soy Candles
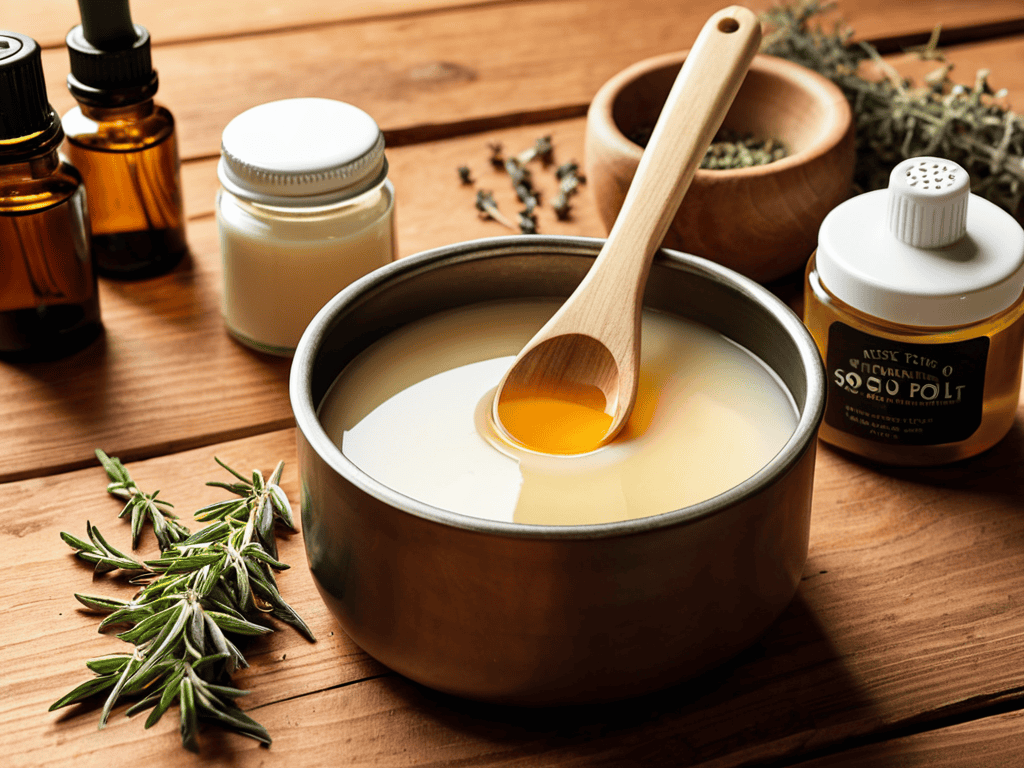
As you dive deeper into the world of soy candle crafting, it’s essential to consider the temperature control aspect of the process. This is crucial in ensuring that your soy wax flakes or granules melt evenly, resulting in a smooth, consistent texture. When it comes to natural fragrance options for candles, you can experiment with various essential oils to create unique scents that complement your space.
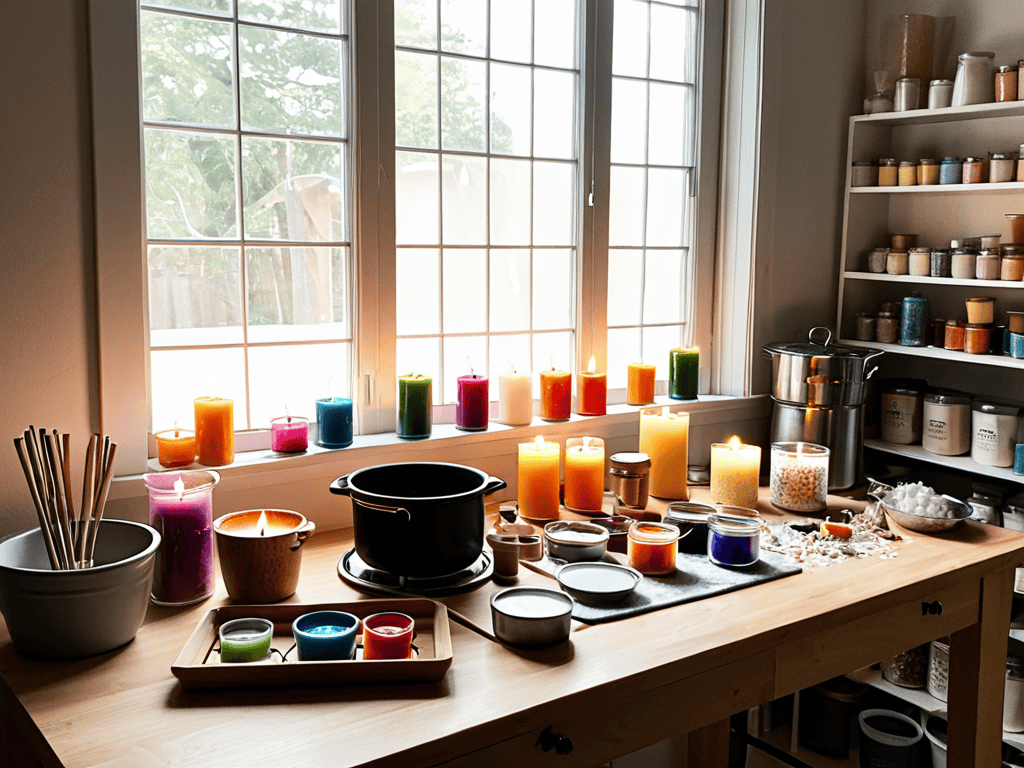
To add a pop of color to your soy candles, you can use coloring soy candles with dyes. This can be a fun and creative way to personalize your candles and match them with your home decor. However, be sure to follow the manufacturer’s instructions for the dye and test a small batch before proceeding with a larger quantity.
When your soy candles are finally ready, it’s important to follow some soy candle burning tips to ensure they burn evenly and safely. This includes trimming the wick to the recommended length and avoiding drafts. By following these tips, you can enjoy your handmade soy candles for a longer period while maintaining their quality and performance.
Candle Making Temperature Control the Secret to Perfection
To achieve the perfect soy candle, temperature control is crucial. The ideal melting point for soy wax is between 120°F and 180°F. If the wax gets too hot, it can burn or become discolored, affecting the candle’s quality and appearance. On the other hand, if the wax doesn’t reach the proper temperature, it may not melt evenly, leading to a rough or uneven texture.
As you continue on your soy candle-making journey, you’ll likely find yourself wanting to explore more creative outlets and connect with like-minded individuals who share your passion for handmade crafts. If you’re looking for a community that embraces the artisanal spirit, you might stumble upon some interesting groups or forums where people share their experiences and tips on various DIY projects, including candle making. For instance, you could check out websites that offer a range of resources and connections, such as sex ads perth wa, which might seem unrelated at first but can actually provide a unique perspective on how to network with local artisans and find inspiration for your next project.
Monitoring the temperature closely and adjusting the heat as needed is essential. A thermometer is a valuable tool in this process, allowing for precise control over the melting process. By maintaining the optimal temperature, you’ll be able to create a smooth, even, and professional-looking soy candle that burns cleanly and consistently.
Soy Wax Flakes vs Granules the Great Debate
When it comes to soy candle making, one of the most debated topics is the choice between soy wax flakes and granules. Both have their own advantages and disadvantages. Soy wax flakes are often preferred for their ease of use and faster melting time, resulting in a smoother, more even texture. On the other hand, soy wax granules offer a more cost-effective option and can be just as effective with the right melting technique.
Ultimately, the decision between flakes and granules comes down to personal preference and the specific project at hand. Experimenting with both can help you determine which works best for your soy candle creations.
Soy Candle Mastery: 5 Essential Tips to Get You Started
- Illuminate Your Space: Choose the right melting point for your soy wax to ensure a smooth, even burn
- Wick It Right: Select the perfect wick size to prevent tunnelling, sooting, or an uneven burn
- Colour Me Beautiful: Add a pop of colour to your soy candles using eco-friendly dyes or pigments
- Fragrance Frenzy: Experiment with different essential oils or fragrances to create unique, inviting scents
- Safety First: Never leave your melting pot unattended, and keep it out of reach of children and pets to avoid accidents
Key Takeaways for a Successful Soy Candle Making Experience
Soy wax flakes and granules have different melting properties, and understanding these differences is crucial for achieving the perfect candle texture and stability
Temperature control is a critical factor in soy candle making, as it affects the melting point, fragrance throw, and overall quality of the final product
By following a simple step-by-step guide and paying attention to details such as wax type, melting temperature, and fragrance addition, anyone can create their own unique and high-quality soy candles at home
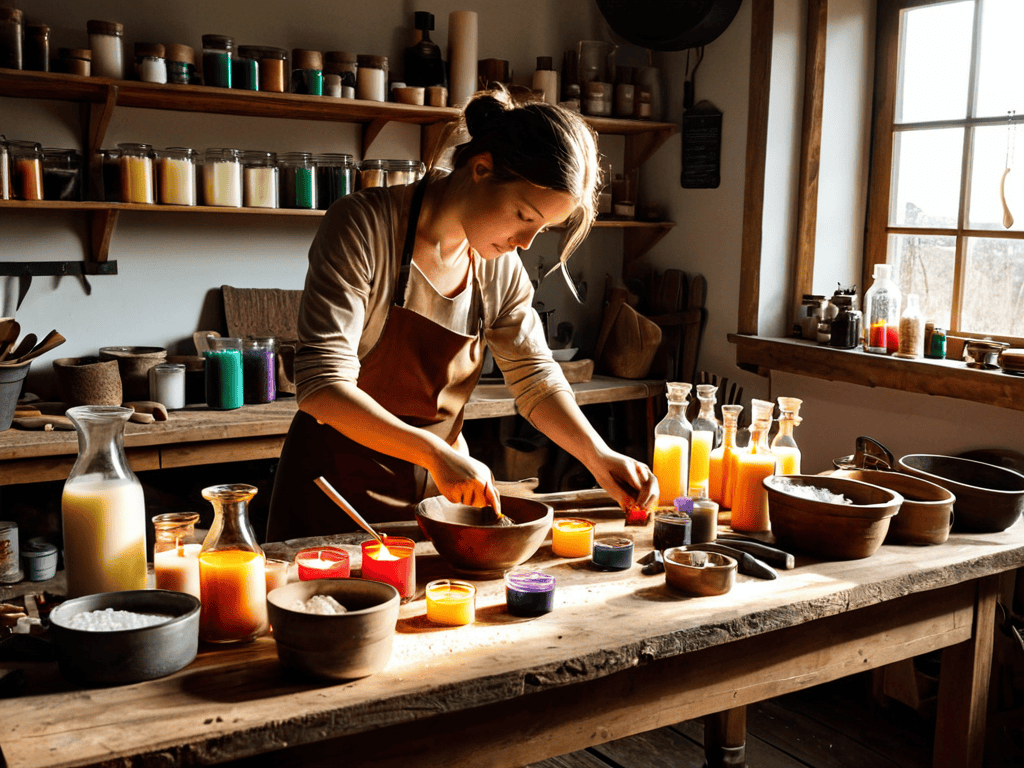
A Spark of Creativity
As we pour our hearts into crafting soy candles, we’re not just melting wax – we’re weaving warmth, love, and light into every delicate layer, creating a symphony of sensations that transcend the ordinary.
Emilia Grey
Conclusion
As we conclude our journey into the world of soy candle making, it’s essential to remember the key points that make this craft so unique. From the great debate between soy wax flakes and granules, to the crucial aspect of temperature control, each element plays a significant role in creating the perfect candle. By mastering these techniques and understanding the importance of patience and precision, you’ll be well on your way to crafting soy candles that not only illuminate your space but also fill it with warmth and character.
So, as you embark on your own soy candle making adventures, remember that the true magic lies not just in the end result, but in the process itself. The act of creating something with your own hands, of breathing life into wax and wick, is a profoundly satisfying experience that can bring a sense of calm and fulfillment to your life. Whether you’re a seasoned crafter or a curious beginner, the world of soy candle making invites you to explore, experiment, and ignite your creativity.
Frequently Asked Questions
What are the most common mistakes to avoid when making soy candles at home?
When making soy candles at home, beware of overheating the wax, using too much fragrance, and not preparing your mold properly – these common mistakes can lead to uneven textures, poor scent throw, or candles that simply don’t set right.
How do I achieve consistent colors and fragrances in my soy candles?
To achieve consistent colors and fragrances, use high-quality, fragrance-specific dyes and essential oils, and always measure them precisely. Keep a record of your recipes to ensure you’re using the same ratios each time, and test small batches before scaling up for the best results.
Can I add herbs or spices to my soy candles for a unique scent and appearance?
Absolutely, you can add herbs or spices to create unique scents and appearances. Try infusing soy wax with dried herbs like lavender or rosemary, or add a pinch of warm spices like cinnamon or nutmeg for a cozy twist. Just be sure to use a small amount to avoid overpowering the wax or causing it to become discolored.