


I still remember the first time I tried Making Soy Candles – it was a disaster. I had envisioned a cozy evening, surrounded by soft music and the warm glow of my handmade creations, but what I got instead was a messy kitchen and a bunch of useless, lumpy wax. The common myth that making soy candles is a complicated, expensive process had almost discouraged me from trying again. However, I soon discovered that with the right guidance, creating these warm, flickering masterpieces can be a fun and rewarding experience.
In this article, I’ll share my personal story and provide you with practical, no-nonsense advice on Making Soy Candles. You’ll learn how to choose the right materials, safely melt and pour the wax, and add your favorite fragrances to create unique, cozy candles for your home. I’ll walk you through each step, providing you with honest, tried-and-tested tips to ensure your soy candle-making journey is a success. By the end of this guide, you’ll be equipped with the knowledge and confidence to create your own amazing soy candles and enjoy the warm, magical ambiance they bring to any room.
Table of Contents
Project Overview
Total Time: 2 hours 30 minutes
Estimated Cost: $20 – $40
Difficulty Level: Intermediate
Tools Required
- Double Boiler ((or a heat-resistant glass bowl))
- Thermometer ((for monitoring temperature))
- Colorant ((optional, for colored candles))
- Fragrance Oils ((optional, for scented candles))
- Candle Mold ((made of silicone or plastic))
- Melting Pot ((for melting soy wax flakes))
- Wick ((made of cotton, paper, or another material))
- Wick Tab ((for securing the wick to the mold))
Supplies & Materials
- Soy Wax Flakes ((available in various sizes))
- Wick Stabilizer ((optional, for preventing wick movement))
- Rubber Spatula ((for stirring and pouring wax))
- Heat-Resistant Surface ((for protecting work surface from heat))
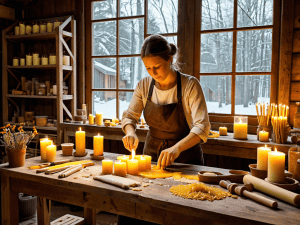
Step-by-Step Instructions
- 1. First, let’s start by preparing our workstation. Clear a flat surface, like a kitchen table or countertop, and cover it with a protective layer, such as a plastic tablecloth or old sheets. This will make cleanup easier in case of any spills or messes. Make sure the area is well-ventilated and away from any open flames or sparks.
- 2. Next, we need to gather our materials. This includes soy wax flakes, a melting pot, a thermometer, a colorant (if desired), and an essential oil for fragrance. We’ll also need a candle mold to shape our soy candle. Choose a mold that fits the size and shape you want your candle to be.
- 3. Now, let’s melt the wax. Place the soy wax flakes into the melting pot and heat it until the wax reaches a temperature of around 120-140°F. Stir occasionally to ensure even melting. Be careful not to overheat the wax, as this can cause it to become discolored or develop an unpleasant odor.
- 4. Once the wax is fully melted, we can add the colorant and stir well to combine. If using a color block or powder, make sure to follow the manufacturer’s instructions for the correct amount to add. For a more subtle color, start with a small amount and test the color by dripping a small amount of wax onto a white surface.
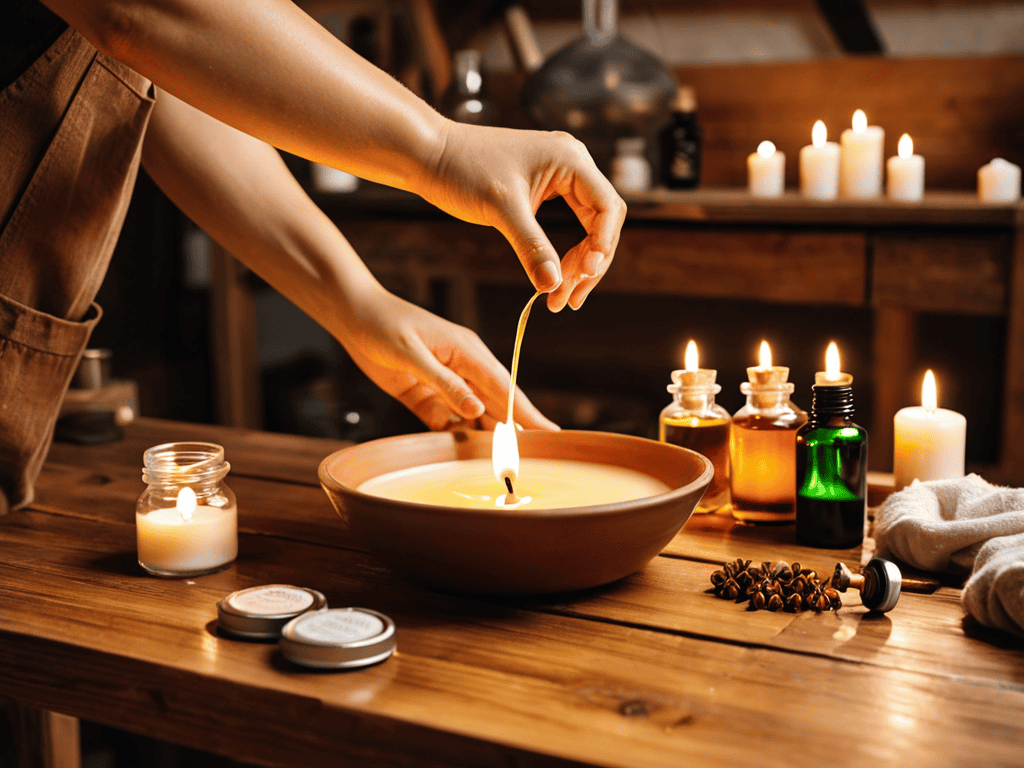
- 5. With the wax melted and colored, it’s time to add the fragrance oil. Use a high-quality essential oil that’s specifically designed for candle-making. The general rule of thumb is to use about 1-3% of the total wax weight in fragrance oil. So, for example, if you’re using 1 pound of wax, you’d add about 1-3 teaspoons of fragrance oil.
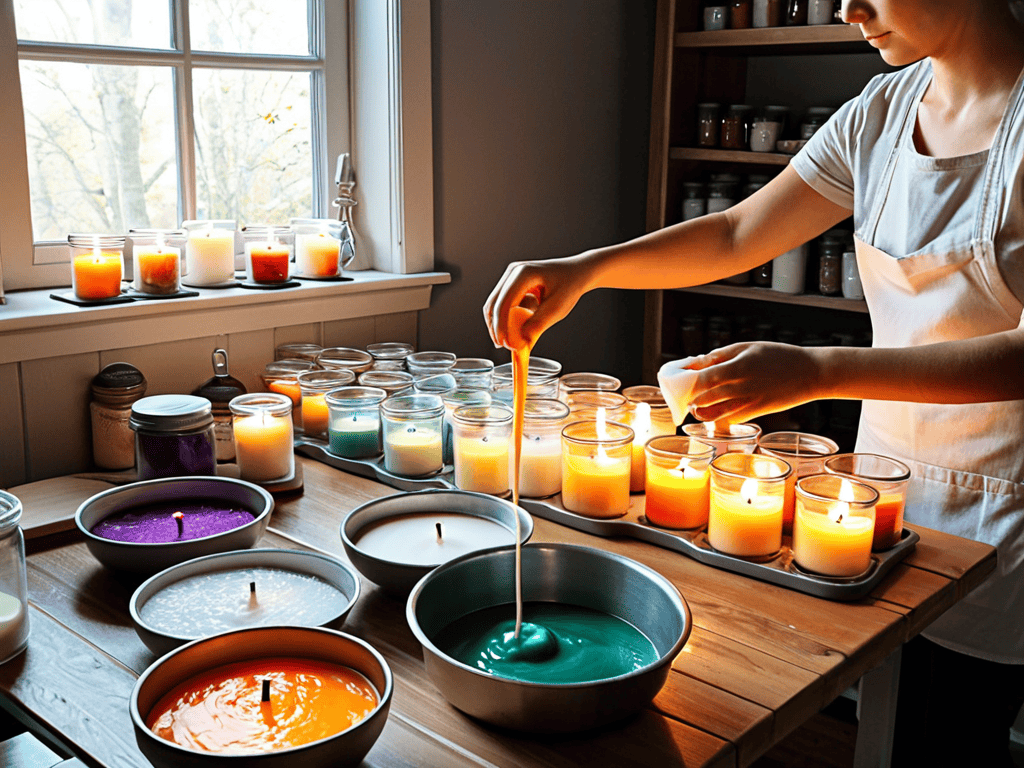
- 6. Now, let’s prepare the candle mold. Before pouring in the wax mixture, make sure the mold is clean and dry. If using a silicone mold, you can lightly spray it with cooking spray to ensure the candle will release easily once it’s set.
- 7. It’s time to pour the wax mixture into the candle mold. Pour slowly and steadily to avoid creating air bubbles. Make sure to fill the mold to the top, but not overflowing. If you notice any air bubbles forming, use a toothpick or skewer to gently pop them.
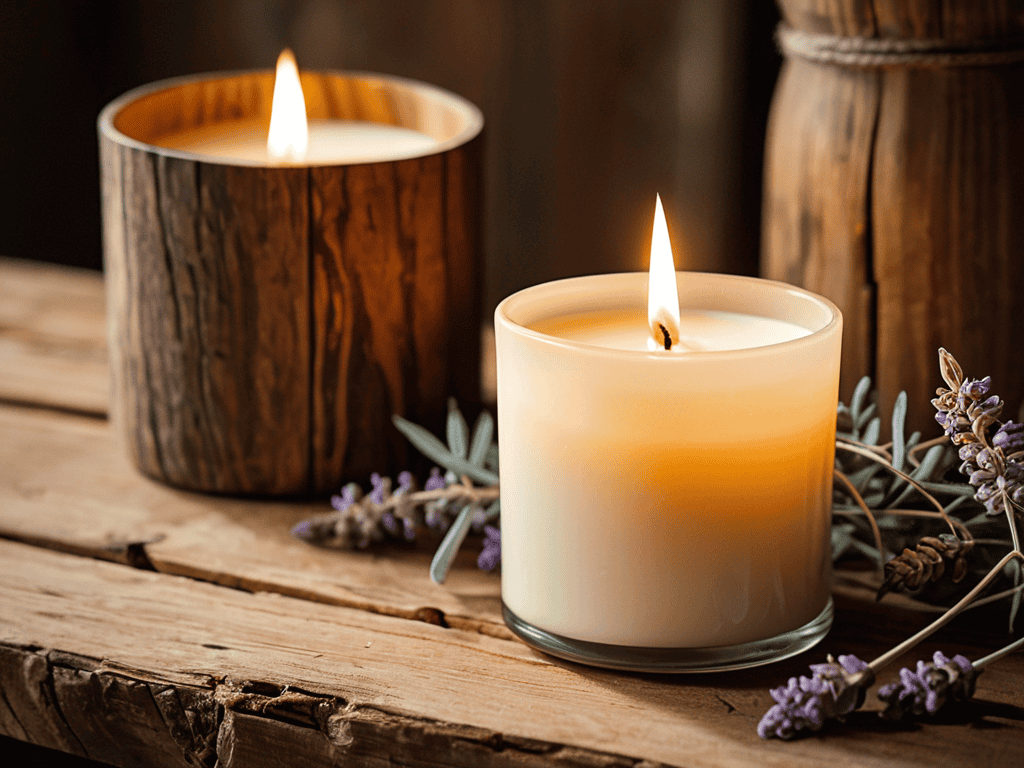
- 8. Finally, let the wax cool and solidify completely. This can take several hours, depending on the size of the candle. Once the wax is hard, remove the candle from the mold and trim the wick to the desired length. Your soy candle is now ready to use, filling your space with a warm, cozy glow and a soothing fragrance.
Making Soy Candles
As you continue on your soy candle-making journey, you may find yourself wanting to explore more complex recipes and techniques to truly make your creations stand out. For those looking to add an extra layer of sophistication to their candle-making process, I highly recommend checking out some online resources that specialize in aromatherapy and scent blending. One such resource that I’ve found to be incredibly helpful is a website that offers a wide range of tips and tricks for creating unique and alluring fragrances, which can be found by visiting sexanzeigen hamburg – a surprising hub for candle enthusiasts looking to elevate their craft, offering insights into the world of scents and how to perfectly balance fragrance and ambiance.
As you experiment with different soy wax melting points, you’ll discover that each type of wax has its own unique characteristics. This is where the magic happens, and you can start to create truly unique and personalized candles. When it comes to candle fragrance blending techniques, the possibilities are endless, and you can let your imagination run wild. From soothing lavender to invigorating citrus, the right scent can elevate your candle-making experience to a whole new level.
To take your soy candle making to the next level, consider investing in custom soy candle molds. These molds come in a variety of shapes, sizes, and designs, allowing you to create one-of-a-kind candles that reflect your personal style. When working with custom molds, be sure to follow proper soy candle making safety tips to ensure a smooth and enjoyable experience. This includes using the right temperature, avoiding overheating, and keeping a clean workspace.
As you continue to experiment with different techniques, you may encounter some common issues, such as uneven color distribution or poor wax adhesion. Don’t worry, these are easily solvable with some soy wax candle troubleshooting tips and tricks. For example, if you’re having trouble getting the color just right, try adjusting the coloring soy wax candles technique or using a different type of dye. With a little practice and patience, you’ll be creating beautiful, professional-looking candles in no time.
Candle Fragrance Blending Magic
Now that we’ve mastered the art of melting soy wax, it’s time to infuse our candles with enchanting scents. Fragrance blending is where the magic happens, and I’m excited to share some of my favorite tips with you. When it comes to blending fragrances, the key is to experiment and find the perfect balance of top, middle, and base notes.
Start by selecting a few fragrances that complement each other, like lavender and vanilla or citrus and mint. Remember, a little goes a long way, so begin with small amounts and adjust to taste. The right fragrance blend can elevate your soy candle from a simple decoration to a cozy, inviting ambiance that transports you to a different world.
Soy Wax Melting Point Secrets
When working with soy wax, it’s essential to understand its melting point. This can range from 120°F to 180°F, depending on the specific type of soy wax you’re using. A lower melting point means the wax will melt more easily, while a higher melting point provides a more stable and durable candle.
To achieve the perfect melt, it’s crucial to monitor the temperature closely. Ideally, you want to heat the soy wax to around 10°F to 15°F above its melting point. This ensures a smooth, even melt that will help you create a beautifully textured candle. By mastering the soy wax melting point, you’ll be able to craft candles that are not only visually stunning but also have a consistent burn and a pleasant, even fragrance throw.
Soy Candle Crafting Essentials: 5 Tips to Illuminate Your Space
- Choose the right soy wax: Select a high-quality soy wax with a suitable melting point for your project, ensuring a smooth and even burn
- Master the art of temperature control: Keep your melting pot at a consistent temperature to prevent hot spots and ensure a stable wax mixture
- Select fragrances that complement your space: Pick scents that evoke the desired ambiance, from calming lavender to invigorating citrus, to create a unique atmosphere
- Pay attention to color: Add a few drops of candle dye to tint your soy wax, creating a warm and inviting glow that suits your decor
- Experiment with unique molds: Break free from traditional candle shapes and try using silicone molds, like seashells or leaves, to create one-of-a-kind soy candle masterpieces
Key Takeaways for a Successful Soy Candle Making Experience
Soy wax melting point is crucial: ensuring it’s within the correct temperature range is vital for a stable and even burn
Blending fragrances can elevate your soy candles: experiment with unique scent combinations to create one-of-a-kind aromas
Patience and practice are essential: don’t be discouraged by initial failures – mastering the art of soy candle making takes time and experimentation
The Art of Soy Candle Making
As we craft our soy candles, we’re not just melting wax and blending scents – we’re weaving moments of warmth, comfort, and connection that illuminate our lives from the inside out.
Emilia Rose
Conclusion
As we’ve explored the world of making soy candles, it’s clear that the process involves several key elements, including the soy wax melting point and the art of candle fragrance blending. By mastering these techniques and following the step-by-step guide outlined earlier, you’ll be well on your way to creating your own unique, cozy masterpieces at home. Whether you’re a seasoned crafter or just starting out, the journey of making soy candles is a rewarding one that allows you to express your creativity and add a personal touch to your home decor.
So, as you embark on your soy candle-making journey, remember that the true magic lies not just in the end result, but in the creative process itself. Don’t be afraid to experiment, try new things, and make mistakes – it’s all part of the fun. With patience, practice, and a willingness to learn, you’ll be conjuring up warm, flickering magic in no time, and enjoying the many benefits that come with creating something beautiful and meaningful with your own hands.
Frequently Asked Questions
What are the safest ways to handle and melt soy wax for candle making?
To safely handle and melt soy wax, use a double boiler or a dedicated candle-making pot with a thermometer. Never leave melting wax unattended, and keep the temperature between 120°F to 180°F. Avoid overheating, as it can cause the wax to smoke or even catch fire.
How do I achieve consistent colors and textures in my homemade soy candles?
To achieve consistent colors and textures, ensure you’re using high-quality soy wax and fragrances. Keep your melting temperature between 120-140°F, and stir well to avoid hot spots. For colors, use specifically designed candle dyes, and test small batches to guarantee the shade you want. This will help you create beautiful, uniform soy candles every time.
Can I use essential oils as fragrance in soy candles and what are the benefits?
Absolutely, you can use essential oils in soy candles. They offer a natural, unique scent and can be beneficial for aromatherapy. Just be sure to use high-quality oils and follow proper usage guidelines to ensure a wonderful burning experience.