


I was knee‑deep in a barrel of kitchen scraps on a rainy Tuesday, the scent of fermenting vegetables hanging heavy in my cramped East Bay garage, when I realized I’d been chasing the wrong myth about building a DIY bio‑gas digester. Most tutorials swear you need a pricey steel tank and a PhD in chemistry—newsflash: all you really need is a sturdy 55‑gallon drum, a few PVC fittings, and a willingness to get a little messy. That afternoon, with a busted coffee can as my makeshift gas collector, I proved the process is far less Hollywood‑science and far more neighbor‑friendly than anyone tells you.
In the next pages I’ll walk you through every step I took—from sourcing a second‑hand drum at a local salvage yard to wiring a safe pressure‑release valve using parts from the neighborhood hardware store. You’ll get a clear parts list, a budget cost breakdown, and troubleshooting tips that saved me from a dreaded pressure‑burst. By the end, you’ll be able to turn everyday food waste into a steady stream of cooking fuel for your apartment kitchen, all while keeping project low‑key, safe, and rewarding.
Table of Contents
- Step-by-Step Instructions
- Designing Homemade Biogas Generator Plans for a Small Scale Anaerobic Diges
- Organic Waste Conversion Biogas Production Calculations and Safety Guidelin
- Five Game‑Changing Hacks for Your DIY Biogas Dream
- Quick Takeaways
- From Scraps to Spark
- Wrapping It All Up
- Frequently Asked Questions
Guide Overview
Tools & Supplies
- Power drill with assorted bits – for drilling holes in the drum
- Jigsaw or hand saw – to cut openings for inlet/outlet
- Adjustable wrench – for tightening bolts and fittings
- Tape measure – to measure dimensions and spacing
- Safety goggles and gloves – for personal protection
- 30‑gal food‑grade plastic drum (1) – main digester vessel
- 2‑inch PVC pipe, 4 ft (2 pieces) – inlet and outlet pipes
- 2‑inch PVC fittings (elbows, tees) (4) – connections for inlet/outlet
- Rubber gaskets (2) – create airtight seals
- Stainless‑steel bolts, nuts, and washers (set) – secure the lid
- Biogas tubing (1 m) – transport produced gas
- Silicone sealant (tube) – waterproof sealing of joints
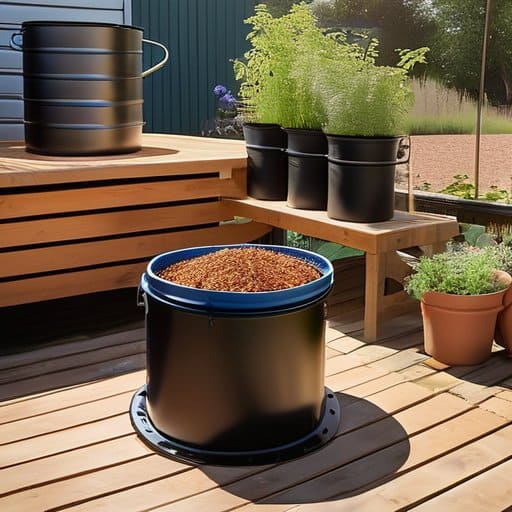
- Organic waste (food scraps, manure) (10‑20 kg) – feedstock for digestion
- Water (as needed) – create slurry mixture
Step-by-Step Instructions
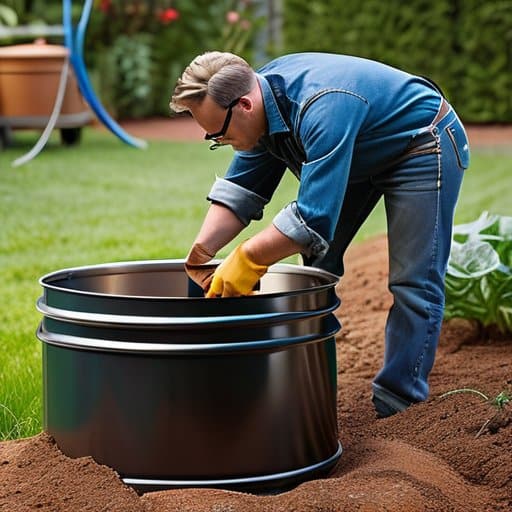
- 1. First, I gathered the basics. I headed to my local hardware store for a 55‑gallon food‑grade drum, a sturdy PVC pipe, some stainless‑steel mesh, and a couple of cheap pressure‑rated valves. I also grabbed a few rubber grommets and a set of hose clamps—nothing fancy, just the stuff that keeps the whole thing sealed and safe. Before I even thought about assembling anything, I gave the drum a good scrub with a mild bleach solution to make sure there were no lingering odors that could mess with the bacteria later on.
- 2. Next, I built the inlet chamber. I cut a 4‑inch hole near the top of the drum, then installed a bulkhead fitting to accommodate a 3‑inch PVC pipe. This pipe will be the entry point for kitchen scraps. I sealed the edges with silicone sealant, letting it cure for about 30 minutes. Once the seal was set, I attached a simple screen made from stainless steel mesh (about 1/8‑inch spacing) to keep larger bits out while still letting the organic material flow in.
- 3. Then came the gas collection line. I drilled a 2‑inch hole near the bottom of the drum on the opposite side from the inlet and fitted another bulkhead, this time attaching a flexible vinyl hose that would lead to my small gas storage bag. I made sure the hose was rated for low‑pressure applications and clamped it tightly with hose clamps. To prevent backflow, I installed a one‑way check valve right where the hose meets the drum, securing it with a stainless‑steel band.
- 4. Now I prepared the internal baffles. Inside the drum, I fashioned a simple wooden platform (about 2 inches high) using scrap plywood, then cut a series of small holes (¼‑inch) across it. This platform sits a few inches above the drum’s bottom, creating a “wet‑land” zone where the anaerobic bacteria can thrive. I placed a layer of gravel over the platform to improve drainage and to keep the substrate from floating away when the digester fills up.
- 5. Time to add the starter culture. I mixed a cup of garden soil (rich in microorganisms) with a bit of water to create a slurry, then poured it into the drum, spreading it evenly over the gravel. I also added a handful of active‑dry yeast to kick‑start the fermentation process. After that, I sealed the drum with its original lid, making sure the lid’s gasket was snug and the clamp was tight—this is crucial for maintaining the airtight environment needed for biogas production.
- 6. Finally, I connected the safety vent. I drilled a small vent hole near the top of the drum, installed a pressure‑relief valve, and attached a short piece of PVC pipe that leads to a small, vented container (like a 5‑gallon bucket). This ensures that any excess pressure can escape safely, preventing the drum from over‑pressurizing while still keeping the system sealed from contaminants.
- 7. Now I’m ready to feed the digester. I start by tossing in kitchen scraps—vegetable peels, coffee grounds, and a little bit of fruit waste—through the inlet pipe, then close the lid. Every few days, I add more material, keeping the drum roughly three‑quarters full. I monitor the gas bag for pressure and, after a week or two, I should have a steady stream of methane‑rich biogas ready for a small camp‑stove or a DIY water heater. Enjoy the process, and remember to keep the system airtight and well‑ventilated!
Designing Homemade Biogas Generator Plans for a Small Scale Anaerobic Diges
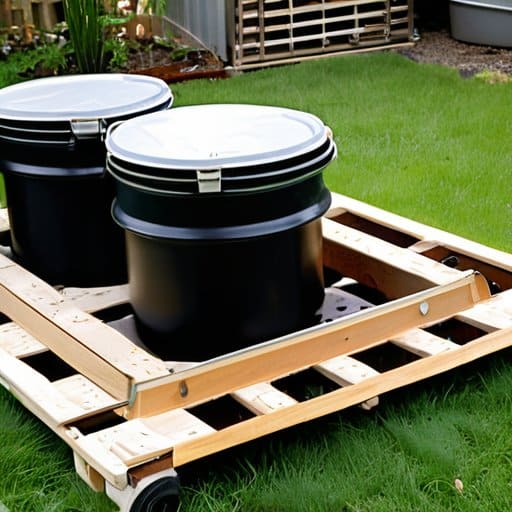
When I first sketched my setup, I started with the simplest of plans—a pair of 55‑gallon drums, a PVC vent pipe, and a few pipe fittings from the local hardware store. The trick is to keep the reactor airtight while allowing easy loading of kitchen scraps and removal of the slurry. I followed a set of biogas safety guidelines that required a pressure‑relief valve and a flame‑arrestor on the outlet—essential to avoid a backyard pressure surge. My homemade biogas generator plans also include a quick‑detach lid so you can swap feedstock without breaking the seal.
While I was tinkering with the inlet valve, I stumbled upon a surprisingly thorough step‑by‑step PDF that walks you through the exact dimensions for a 55‑gallon drum system—something I wish I’d seen before my first prototype. The guide also includes a printable checklist for safety gear and an quick‑reference chart for methane yield, which saved me a lot of guesswork when calibrating my gas‑capture hose. If you’re looking for that extra confidence boost before you start drilling, check out the aus swingers community page where fellow DIYers have uploaded the latest version of the manual; I’ve bookmarked it for quick access whenever I need a refresher.
Once the vessel is sealed, I start by figuring out how much methane I can harvest. I ran a few biogas production calculations using the volume of my weekly food waste, then matched that to the size of my small scale anaerobic digestion system. Feeding fruit peels, coffee grounds, and a sprinkle of garden clippings keeps the reactor at 0.6 m³ of biogas per day—enough for energy efficient cooking with biogas on my portable induction stove on weekends. Keep the feedstock moist and stir the slurry every two days for peak microbial activity.
Organic Waste Conversion Biogas Production Calculations and Safety Guidelin
When I first mapped out my homemade biogas generator plans, I realized the magic lies in the way everyday kitchen scraps can become fuel. I start by sorting fruit peels, coffee grounds, and even the occasional wilted herb bundle into a 55‑gallon drum, then add a splash of water to keep the feedstock moist. Running the small scale anaerobic digestion system for just 48 hours gives me a rough baseline for biogas production calculations: roughly 0.35 m³ of methane per kilogram of wet waste, which is enough to fire up a single‑burner stove for a modest dinner. The trick is to keep the feedstock ratio consistent—about 60 % water to 40 % solids—so the gas yield stays predictable and you can fine‑tune the numbers each week.
Safety, however, is the non‑negotiable side of this hobby. Before lighting the first flame, I always double‑check the biogas safety guidelines: vent the digestor to a well‑air‑circulated area, install a pressure‑relief valve, and keep a fire extinguisher within arm’s reach. I also wrap the inlet pipe in a heat‑resistant sleeve to avoid accidental burns when I switch from the kitchen sink to the stove. Once I’m confident the system is sealed, I love the feeling of energy efficient cooking with biogas—the flame dances brighter, the kitchen smells fresher, and I’m reminded that my leftovers are now powering my next meal.
Five Game‑Changing Hacks for Your DIY Biogas Dream
- Start small—design a 30‑liter capacity tank to test the process before scaling up.
- Use a simple PVC vent pipe with a water‑seal trap to keep methane safely out of your kitchen.
- Add a cheap kitchen‑scale feed‑monitor; measuring feedstock weight helps you keep the carbon‑to‑nitrogen ratio at the sweet spot of 25‑30:1.
- Line the digester interior with a food‑grade epoxy coating to prevent leaks and protect against corrosion.
- Install a quick‑release pressure relief valve—your safety valve, not a fancy add‑on, but a lifesaver for pressure spikes.
Quick Takeaways
Homemade biogas digesters can turn everyday kitchen scraps into renewable energy, slashing waste and heating costs.
A 55‑gallon drum, PVC piping, and a basic gas‑capture valve provide a safe, low‑cost setup for most DIYers.
Prioritize safety with proper ventilation, pressure‑relief valves, and routine maintenance to prevent leaks or accidents.
From Scraps to Spark
Building a backyard biogas digester isn’t just a DIY project—it’s a small‑scale rebellion, turning everyday waste into heat, community, and a reminder that sustainable innovation starts at home.
Elena Cruz
Wrapping It All Up
Looking back on the weeks I spent hammering PVC elbows, measuring feedstock ratios, and double‑checking my pressure‑relief valve, it’s clear that building a DIY biogas digester is less about wizardry and more about planning. I walked you through selecting a sturdy, airtight container, sketching a pipe network, and sizing the inlet to match the organic‑waste stream you generate in a typical San Francisco kitchen. We ran the numbers together—calculating methane yield, estimating daily heating output, and padding the design with safety gear like flame‑arrestors and pressure gauges. By the end of the guide, you should feel confident that you can turn everyday scraps into a modest, renewable heat source for your home, all while keeping the neighborhood’s air a little cleaner.
Beyond the glow of a flame on a night, the payoff is the sense that your kitchen waste is doing something useful. Each bubble of methane that powers a pot of soup reminds us we can rewrite the story of our trash, turning it into warmth for a sustainable future. I’ve seen neighbors gather around my little system, swapping recipes and ideas for scaling the design to community gardens and shared co‑ops. So, as you tighten the final bolt, picture the ripple effect—a backyard digester today could seed a network of clean‑energy storytellers tomorrow. Keep tinkering, keep sharing, and let your waste work for you.
Frequently Asked Questions
How do I safely store and handle the biogas produced without risking leaks or explosions at home?
First thing I learned after my first batch of kitchen‑scrap biogas was to treat the gas like a shy guest—keep it contained and vented. Store it in a sturdy, pressure‑rated PVC or steel cylinder with a secure, threaded valve, and always fit a pressure‑relief valve set a few psi below the cylinder’s limit. Run the outlet through a check‑valve, then into a flame‑free area. Finally, install a leak‑detecting soap‑water test and a shut‑off valve for safety.
What are the most cost‑effective materials I can source locally in San Francisco to build a small‑scale digester?
If you’re hunting San Francisco‑sourced gear that won’t break the bank, start at the Ferry Building farmers’ market for sturdy 55‑gal plastic drums (often sold cheap on “buy‑back” days) and at local hardware co‑ops like Neighborhood Tools for a set of pipe‑fit PVC fittings. The city’s surplus‑store at the SF Recycling Center will have cheap steel brackets, while the Mission‑District “Swap‑Meet” stalls are gold mines for cheap hose clamps and silicone sealant. Pair those with a second‑hand pressure gauge from a nearby Craigslist find, and you’ve got a solid, ultra‑budget base for a backyard digester.
Can I integrate the biogas output into my existing kitchen appliances, like a stove or water heater, and what modifications are needed?
Absolutely, you can channel the methane from your backyard digester straight into a stove or water heater, but you’ll need a few safety‑first modifications. First, install a pressure‑rated, gas‑tight connector and a small regulator to keep the flow steady. Add a flame‑proof, stainless‑steel hose with a quick‑shut‑off valve, and fit a low‑pressure gas‑safety valve on the appliance. Finally, double‑check local codes and keep a leak‑detector nearby. With these steps, your kitchen can run on home‑grown fuel safely.