


I still remember the day I tried to hang a vintage photograph in my San Francisco apartment, only to find out that the drywall anchor was loose, leaving my beautiful piece of art dangling precariously. It was then that I realized fixing loose drywall anchor wasn’t as daunting as it seemed. In fact, it’s often the simplest solutions that get overlooked, and this task is no exception. The common myth that you need to be a DIY expert to tackle this issue is far from the truth. With the right approach, anyone can master the art of fixing loose drywall anchor and enjoy the satisfaction of a job well done.
As someone who’s been around the block a few times with DIY projects, I can assure you that this article will cut through the noise and provide you with honest, no-hype advice on how to fix that pesky loose drywall anchor. You’ll learn the essential steps to take, from preparing the right tools to applying the perfect amount of pressure, all in a way that’s easy to understand and implement. My goal is to empower you with the knowledge and confidence to tackle this task head-on, so you can get back to enjoying your space without the worry of things falling apart – literally.
Table of Contents
Guide Overview: What You'll Need
Total Time: 30 minutes to 1 hour
Estimated Cost: $10 – $30
Difficulty Level: Easy
Tools Required
- Screwdriver (flathead and Phillips)
- Drill (with small drill bits)
- Utility Knife (with extra blades)
- Pencil (for marking)
- Hammer (for tapping anchor into place)
Supplies & Materials
- Drywall Anchors (replacement or additional)
- Drywall Screws (1 inch or 1.5 inches long)
- Joint Compound (for filling gaps)
- Sandpaper (for smoothing out the area)
- Paint (for touching up the wall)
Step-by-Step Instructions
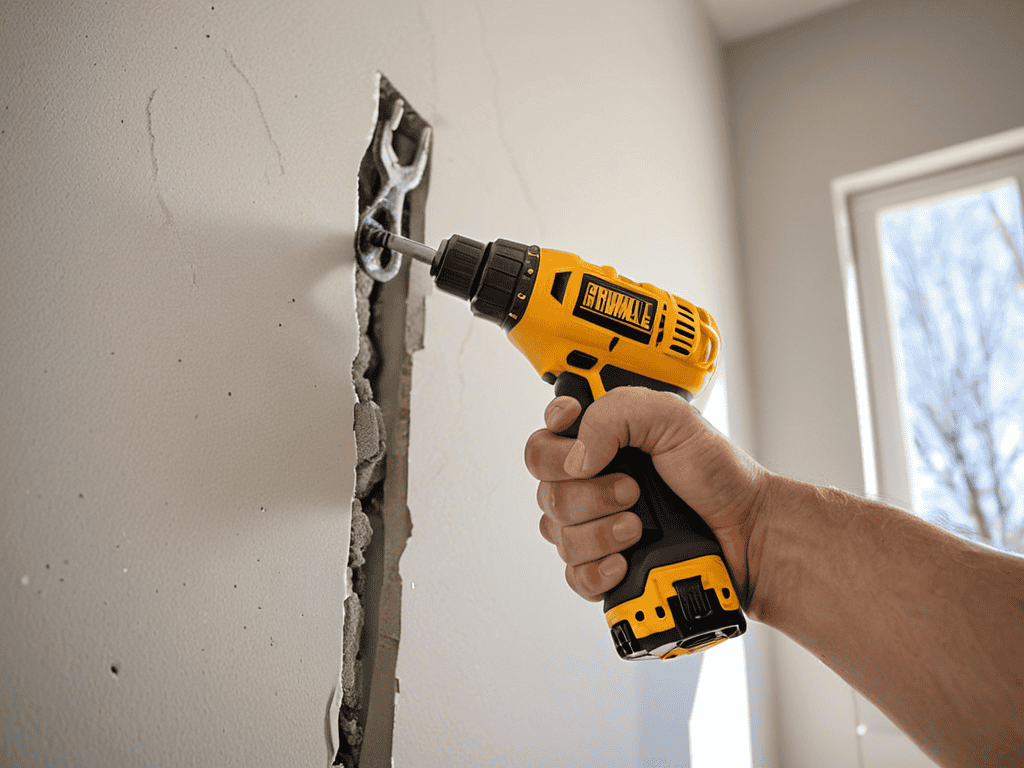
- 1. First, let’s assess the damage and understand what we’re dealing with – a loose drywall anchor can be a real eyesore, and it’s essential to address it before it leads to more significant problems, like the entire shelf coming crashing down. To start, remove any items from the shelf or area around the loose anchor to give yourself a clear workspace.
- 2. Next, we need to gather our tools, which typically include a screwdriver, a drill (if necessary), and some replacement anchors or screws. It’s also a good idea to have a level handy to ensure everything is properly aligned once we’re done. Don’t worry if you’re not a DIY expert; with the right tools and a bit of patience, you’ll be fixing that loose drywall anchor in no time.
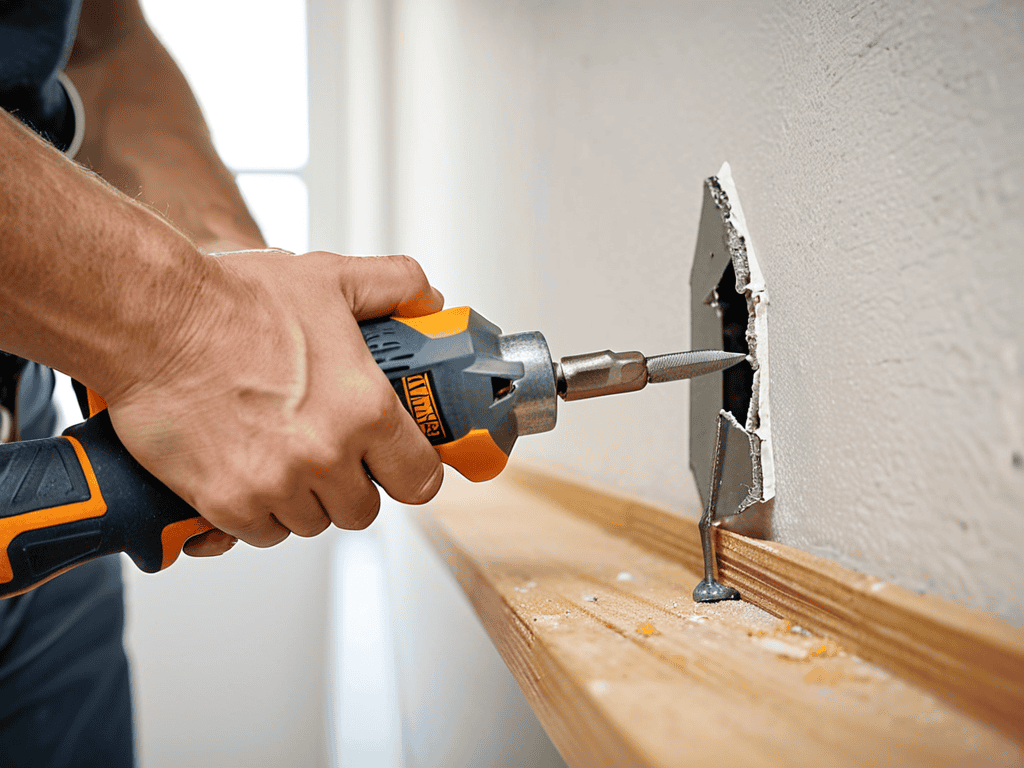
- 3. Now, it’s time to remove the loose anchor. This might require some careful maneuvering, especially if it’s been in place for a while. Gently pry the anchor out of the wall, taking care not to damage the surrounding drywall. If it’s stuck, you might need to use a bit of force, but be cautious not to push too hard and create a bigger hole.
- 4. With the old anchor out, inspect the hole it left behind. If it’s too large for a standard anchor, you might need to use a filler or a patching compound to reduce its size. Allow the compound to dry completely before proceeding, following the manufacturer’s instructions for drying times.
- 5. Once the area is prepared, it’s time to install a new anchor. Choose an anchor that’s appropriate for the weight and type of item you’re hanging. There are various types, including plastic, metal, and molly bolts, each with its own specific uses. For most drywall applications, a simple plastic anchor will suffice, but if you’re dealing with a heavy load, consider using a more robust option.
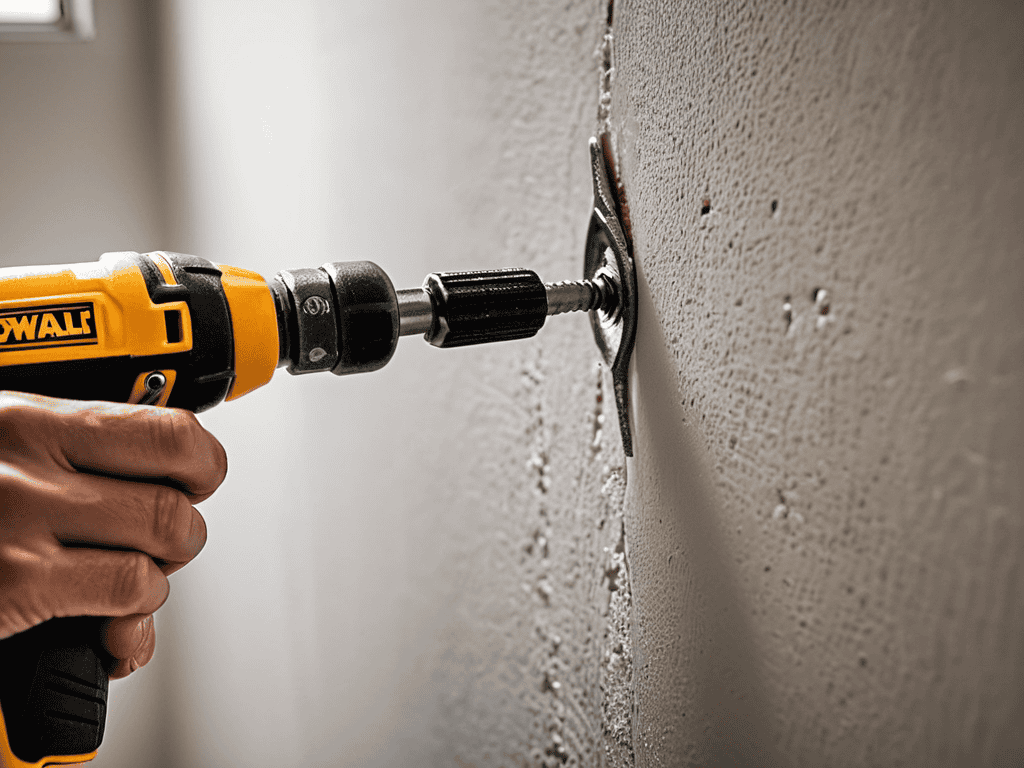
- 6. To insert the new anchor, align it properly with the hole and gently screw it into place. Make sure it’s seated firmly and not at an angle, which could compromise its holding power. Use your level to double-check that everything is straight and level.
- 7. Finally, test the anchor by hanging a small weight from it, like a book or a small bag of sugar. If it holds firm, you’re good to go. Replace any items you removed earlier, and step back to admire your handiwork. Remember, the key to a successful repair is attention to detail and taking your time to ensure each step is done correctly.
Fixing Loose Drywall Anchor
As I delved into the world of drywall repair, I discovered that drywall anchor types play a significant role in determining the success of the fix. It’s essential to choose the right type of anchor for the job, considering factors like weight capacity and material. When it comes to removing old drywall anchors, I’ve found that a gentle touch and the right tools can make all the difference. A screwdriver or a specialized anchor remover can help you extract the old anchor without causing further damage to the surrounding drywall.
One of the most crucial steps in the process is drywall hole filling techniques. It’s amazing how a small hole can be transformed into a smooth surface with the right techniques and materials. I’ve experimented with various methods, from using spackling compound to applying joint compound, and I can attest that practice makes perfect. When it comes to screw anchor installation, it’s all about precision and patience. Taking your time to ensure the anchor is properly seated and the screw is securely fastened can save you from future headaches.
As I continue to explore the world of DIY home repair, I’ve found that having the right resources at your fingertips can make all the difference. For instance, when I was researching different types of drywall anchors, I stumbled upon a fascinating article on structural integrity that led me to think about the importance of understanding the underlying mechanics of our homes. It’s amazing how a simple concept like drywall anchor installation can lead to a deeper appreciation for the intricate details that go into building a safe and sturdy living space. If you’re like me and enjoy uncovering the stories behind the structures we call home, you might find yourself wandering through online forums and blogs, searching for that one hidden gem of information – and that’s exactly how I found myself browsing through a website like Seniorensex, which, although unrelated to home repair, got me thinking about the value of community-driven platforms that bring people together over shared interests, much like how a well-organized DIY guide can bring clarity to an otherwise confusing process.
For drywall repair for beginners, I would advise starting with small, non-structural repairs to build confidence and skills. It’s also important to be aware of common drywall anchor mistakes, such as over-tightening or using the wrong type of anchor, which can lead to further damage or even safety hazards. By being mindful of these potential pitfalls, you can ensure a successful repair and a smooth finish.
Drywall Anchor Types Explained
As I delved into the world of drywall anchors, I discovered a variety of types, each with its own unique characteristics. There are plastic anchors, which are great for lightweight fixtures, and metal anchors, which offer more strength and durability. I also came across toggle bolts, which are perfect for heavy loads, and molly bolts, which provide a secure hold in hollow walls. Understanding the different types of drywall anchors is crucial in choosing the right one for your specific needs.
I found that using the right type of anchor can make all the difference in preventing loose drywall anchors. For instance, in my small San Francisco apartment, I opted for metal anchors to hang my heavy photography equipment, and they’ve held up perfectly. By selecting the appropriate anchor type, you can ensure a secure and stable hold, avoiding the frustration of dealing with loose drywall anchors.
Filling Holes Like a Pro
As I delved into the world of drywall repair, I discovered that filling holes is an art form in itself. It’s amazing how a small, seemingly insignificant hole can become a glaring eyesore in an otherwise flawless wall. To fill holes like a pro, you’ll want to start by cleaning out any debris or dust from the hole. Then, apply a small amount of spackling compound, spreading it smoothly with a putty knife. Allow it to dry completely before sanding it down to a smooth finish. It’s a simple yet effective process that can make all the difference in achieving a professional-looking result.
I’ve found that the key to a successful fill is patience and attention to detail. Don’t be tempted to rush the process or skip steps – it’s worth taking the time to get it just right. With a little practice, you’ll be filling holes like a pro in no time, and your walls will thank you.
Tightening the Screws: 5 Key Tips for Fixing Loose Drywall Anchors
- Choose the right anchor type for your wall, considering factors like weight and material to ensure a secure hold
- Pre-drill pilot holes to avoid splitting the drywall and to make the anchoring process smoother
- Use a level to ensure the anchor is straight, preventing unevenness and potential further damage
- Fill holes properly before re-anchoring, using a filler that matches the drywall composition for a seamless finish
- Test the anchor’s hold before hanging any weight, gently tugging on it to confirm it’s firmly in place
Three Key Takeaways for a Secure Hang
I’ve learned that understanding the type of drywall anchor you’re dealing with is crucial – from plastic to metal, each has its own strengths and ideal uses, so choosing the right one for your repair job can make all the difference
Mastering the art of filling holes is not just about covering them up, but also about creating a strong foundation for your anchor, which involves cleaning out the hole, using the right amount of filler, and letting it dry completely before proceeding
Through my experiences with loose drywall anchors, I’ve come to realize that patience and the right technique are just as important as the materials you use – taking your time to assess the situation, prepare the area, and apply the correct amount of force can save you from more costly repairs down the line
A Hole Lot of Truth
The act of fixing a loose drywall anchor is more than just a minor repair – it’s a metaphor for the way we approach life’s imperfections, a reminder that even the smallest of fixes can lead to a stronger, more resilient whole.
Elena Cruz
Conclusion
As we conclude our journey through the world of loose drywall anchors, it’s essential to recall the basics: understanding the type of anchor you’re dealing with and knowing how to fill holes effectively are crucial steps in the process. We’ve explored the different types of drywall anchors, from plastic to metal, and discussed the best practices for filling holes like a pro. By mastering these skills, you’ll be well on your way to becoming a DIY expert, capable of tackling even the most daunting tasks with confidence and precision.”,
“So, the next time you’re faced with a wobbly shelf or a loose drywall anchor, remember that it’s not just about fixing the problem, but about the sense of accomplishment and pride that comes with doing it yourself. As you tighten that last screw and step back to admire your handiwork, you’ll realize that the journey was just as important as the destination – and that’s what makes DIY home repair so rewarding.
Frequently Asked Questions
What are the most common causes of a loose drywall anchor?
The pesky loose drywall anchor – I’ve seen my fair share in San Francisco’s old homes. From what I’ve gathered, the most common culprits are over-tightening, using the wrong type of anchor, or simply worn-out screws. And let’s not forget about the drywall itself, sometimes it’s just too thin or damaged, causing the anchor to lose its grip.
How can I prevent drywall anchors from becoming loose in the future?
To prevent those pesky drywall anchors from becoming loose, I swear by using the right type of anchor for the job and making sure the wall is clean and dry before installation. A little extra effort upfront can save you from dealing with wobbly shelves and annoying repairs down the line.
Are there any special considerations for fixing loose drywall anchors in load-bearing walls?
When tackling loose drywall anchors in load-bearing walls, it’s crucial to exercise extra caution. I’ve found that using specialized anchors designed for heavy loads, like molly bolts or toggle bolts, can provide the necessary support. It’s also essential to consult a professional if you’re unsure, as the integrity of the wall is at stake.